How to Create Professional Room Images That Impress
How to Create Professional Room Images That Impress
TL;DR:
- Poorly staged and shot interior photos can undermine property listings and design presentations. Proper prep, equipment, lighting, and editing are essential to produce professional-looking images that accurately reflect the space. Utilizing the right techniques and AI tools can further enhance photo quality and authenticity.
Poor room photos cost you more than you think. Whether you’re listing a property, presenting a design concept, or just documenting a space you love, blurry, poorly lit, or cluttered images tell the wrong story. Learning how to create professional room images isn’t reserved for photographers with expensive gear. With the right preparation, a few technical fundamentals, and smart editing, you can produce shots that look like they belong in a design magazine. This guide walks you through every stage, from pre-shoot prep to final quality checks.
Table of Contents
- Key Takeaways
- How to create professional room images: start with preparation
- Equipment and camera settings for great room shots
- Step-by-step shooting techniques for compelling room photos
- Editing techniques to enhance room images
- Troubleshooting common image quality problems
- My honest take on what actually moves the needle
- Take your room images further with Vibemyflat
- FAQ
Key Takeaways
| Point | Details |
|---|---|
| Preparation wins the shoot | Start prepping the room 2 to 3 days early to fix issues like broken blinds or poor lighting before shoot day. |
| Lens choice matters | Use a 24 to 35mm lens on a full-frame camera to avoid the spatial distortion that kills amateur interior shots. |
| Light early, light right | Turn on all interior lights at least 30 minutes before shooting to reach consistent color temperature. |
| Editing is non-negotiable | Even a strong photo needs post-processing. Simple brightness and contrast adjustments can transform a shot in minutes. |
| Quality checks close the loop | Review every image for perspective distortion, color accuracy, and composition balance before calling it done. |
How to create professional room images: start with preparation
The single biggest reason amateur room photos fail isn’t the camera. It’s what happens before the camera comes out. A messy room, mismatched lighting, and untouched imperfections will show up in every frame, and no amount of editing fixes a fundamentally unprepared space.
Start your room prep 2 to 3 days before the shoot. That buffer gives you time to discover and fix problems you didn’t know existed: a broken blind that won’t close, a dead bulb casting a cold shadow, or a wall scuff that reads harshly under a wide-angle lens. Shoot day should be calm and controlled, not reactive.
Here’s a practical room-by-room preparation checklist:
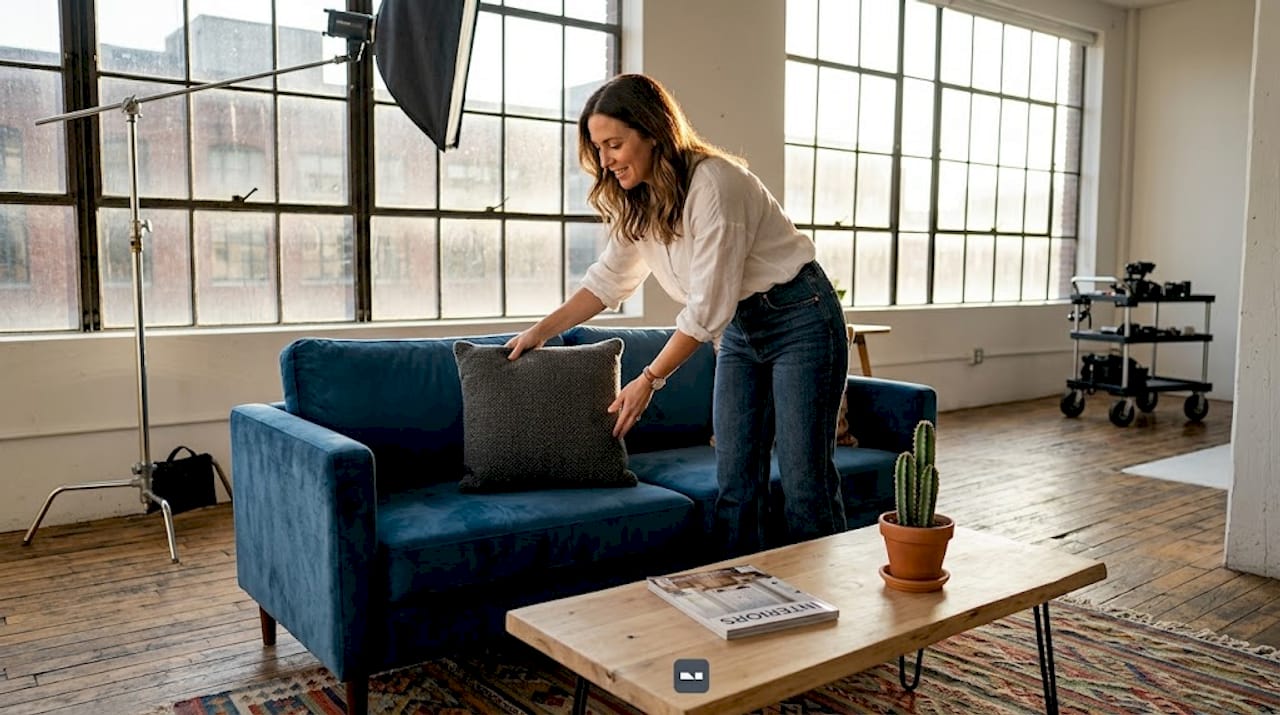
- Living room: Remove personal items like family photos, remote controls, and charging cables. Style the space with intentional props (a few books, a throw blanket, one vase). Straighten cushions and align furniture symmetrically.
- Kitchen: Clear countertops completely, then add back only one or two curated items. Clean appliances to remove smudges. Hide dish towels and cleaning products.
- Bedroom: Make the bed tightly, remove personal toiletries, and steam wrinkles from any visible linens.
- Bathroom: Remove all personal care products and replace them with a single plant or folded towel stack. Clean the mirror, grout, and fixtures thoroughly.
Lighting prep is its own step. Turn on all interior lights at least 30 minutes before shooting so bulbs reach their full, consistent color temperature. Cold LED bulbs mixed with warm incandescent ones create a color clash that makes rooms look uneven and unprofessional.
Pro Tip: Bring fabric, paint, and wallpaper samples to your shoot. Providing design samples to the photographer gives you a reference point for color correction in editing, so the final image reflects the real colors in the room.
| Room type | Key prep steps | Common pitfall |
|---|---|---|
| Living room | Declutter, style props, align furniture | Too many decorative items |
| Kitchen | Clear counters, clean appliances | Visible cleaning products |
| Bedroom | Make bed, remove personal items | Wrinkled or mismatched linens |
| Bathroom | Remove toiletries, clean all surfaces | Soap scum or mirror streaks |
Equipment and camera settings for great room shots
You do not need a $5,000 camera to get professional results. You do need to understand what your equipment is doing and why.
On lens selection: avoid ultra-wide lenses in the 14 to 16mm range. They make rooms look bigger than they are, bend walls, and create a fish-eye distortion that buyers and clients immediately distrust. Stick with a 24 to 35mm range on a full-frame camera. This preserves natural spatial proportions and makes the room look inviting rather than artificially stretched.
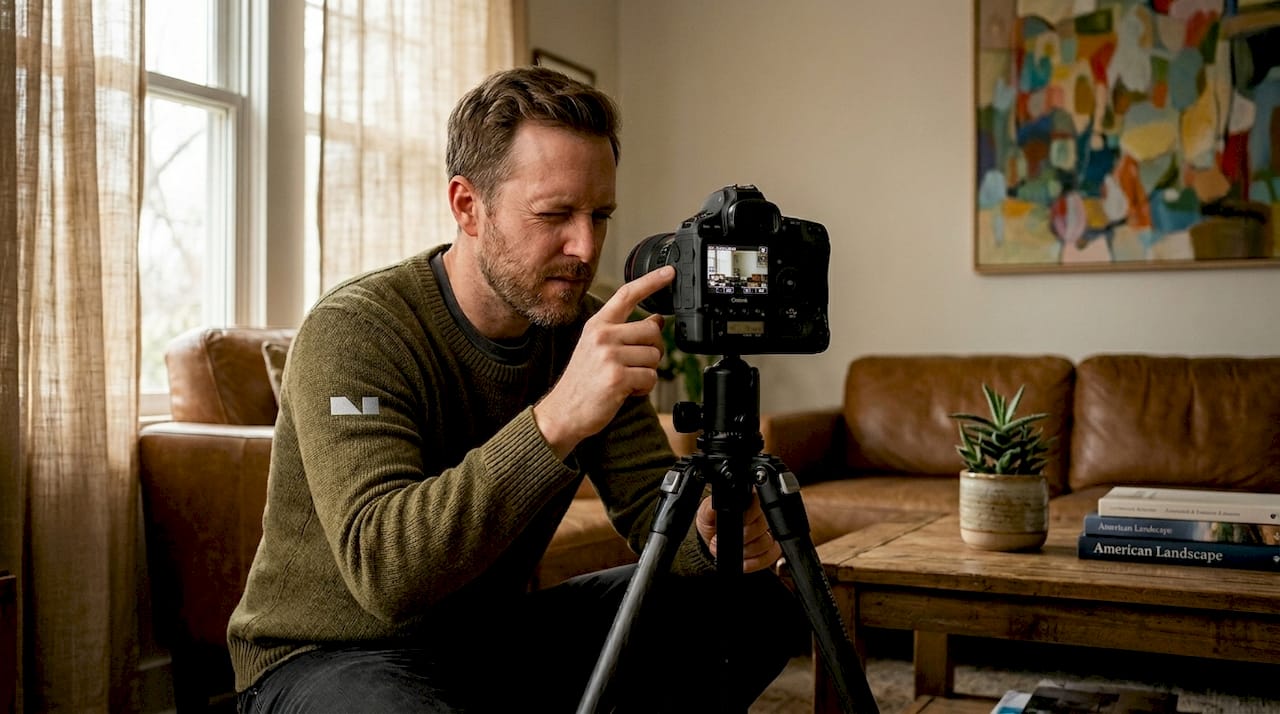
A tripod is non-negotiable. Handheld shooting at low shutter speeds in indoor light produces motion blur, and sharp images are the foundation of everything else. Mount your camera and shoot at chest height or slightly above. This avoids the distorted, tilting-wall perspective that plagues shots taken from floor level or extreme angles.
For camera settings, here’s what to prioritize:
- ISO: Keep it as low as possible (100 to 400) to avoid grain. Use a tripod to compensate for longer exposures.
- Aperture: f/8 to f/11 gives you sharp focus across the full depth of the room.
- Shutter speed: In low light, drop to 1/15 or slower with the camera mounted on a tripod.
- White balance: Set it manually or use the Kelvin scale. Mixed light sources need individual adjustment in post-processing.
- Bracketing: Bracketing exposures means taking three or more shots at different exposure levels and blending them later. This handles rooms with windows on one wall and dark corners on the other.
Pro Tip: If you’re working with AI tools to generate or enhance room images, use specific photographic language in your prompts. Terms like “85mm lens perspective,” “shallow depth of field,” or “bokeh background” guide the AI toward more realistic, true-to-life results.
Step-by-step shooting techniques for compelling room photos
Once the room is prepped and your gear is set, your job is to make conscious decisions about every shot. Nothing about a professional image is accidental.
- Choose your shooting corner wisely. Shooting from a corner of the room toward the opposite corner gives you the widest natural view without distortion. It also creates natural leading lines that draw the viewer’s eye into the space.
- Position the camera at the right height. For most rooms, chest height (about 4.5 feet) keeps verticals straight and proportions true. Shooting from too low makes ceilings disappear. Shooting too high makes the room look like a dollhouse.
- Apply composition principles. Look for symmetry in furniture arrangements. Use leading lines like floor planks, countertop edges, or hallways to add depth. Leave negative space intentionally. A wall with nothing on it tells the viewer to focus on the furniture in front.
- Manage your light source. The best lighting for room photos is consistent and controllable. Shoot rooms with south-facing windows in the morning or mid-afternoon when direct sunlight isn’t pouring in. For darker rooms, add supplemental lighting aimed at walls, not furniture, to avoid hot spots.
- Use multiple exposures. Shoot three brackets: one at the “correct” exposure, one stop over, one stop under. Blend them in editing. This is how professionals handle the impossible contrast between a sunlit window and a shadowed corner.
- Style your shot minimally. Three items on a coffee table is plenty. A single plant in the corner adds life. The goal is to guide the viewer’s eye, not crowd it.
Pro Tip: Before you pack up, walk the room and look at every frame from the camera position. Clutter you missed during prep often reveals itself only when you’re standing behind the lens.
| Approach | Visual impact | Best used for |
|---|---|---|
| Corner shot | Wide, deep, natural | Living rooms, open-plan spaces |
| Wall-facing shot | Focused, symmetrical | Bedrooms, bathrooms |
| Detail shot | Intimate, textured | Styling features, design elements |
| Window-facing shot | Bright, airy (with HDR blending) | Rooms with strong natural light |
Editing techniques to enhance room images
Capturing a great shot is half the work. Post-processing is where good photos become genuinely impressive ones. The editing timeline varies depending on task complexity: basic background cleanup takes under a minute, detailed retouching runs 30 minutes to 2 hours, and complex compositing (replacing skies, swapping furniture, or major color corrections) can take days. Know what you’re aiming for before you start.
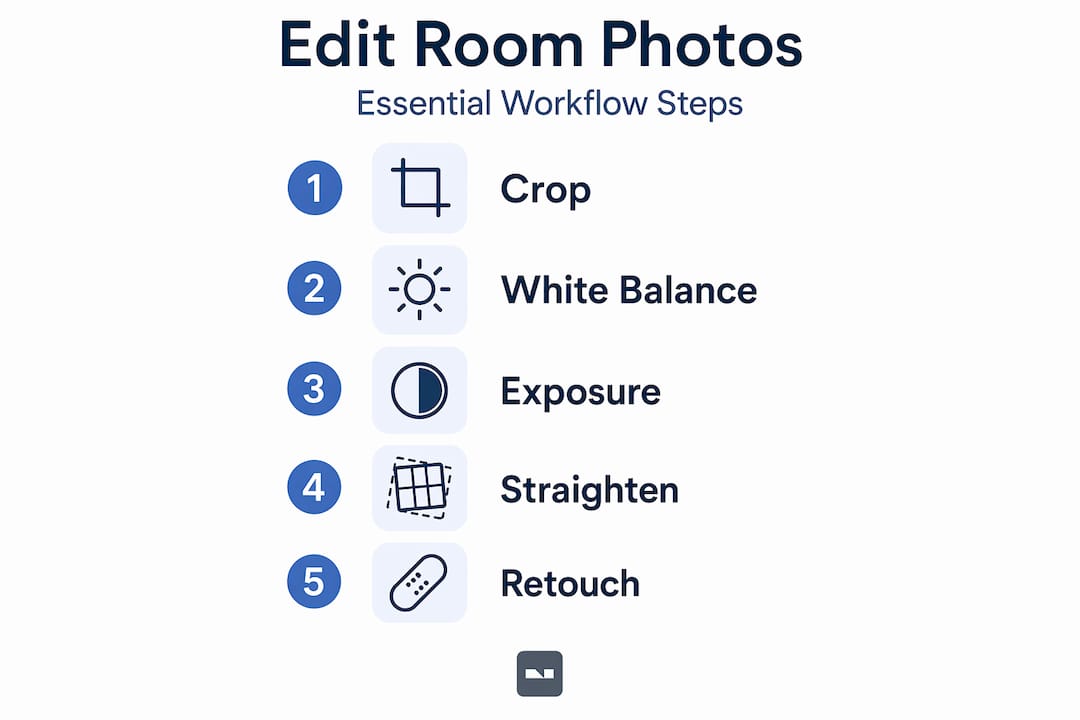
Here’s a structured editing workflow for interior images:
- Step 1: Exposure and white balance. Fix these first. Pull up shadows, recover highlights, and set a neutral white balance. If you shot in RAW format, this step has zero quality loss.
- Step 2: Geometry corrections. Use the lens correction or transform tools to straighten verticals and fix barrel distortion from wide-angle shots.
- Step 3: Color grading. Adjust warmth, tint, and individual color channels. Rooms typically benefit from a slight warm tone (around 5500K to 6000K) that feels natural and inviting.
- Step 4: Selective adjustments. Brighten dark corners separately from windows. Use graduated or radial filters to target specific zones without affecting the whole image.
- Step 5: Final retouching. Remove power outlets, visible cables, or small wall scuffs that prep didn’t catch. Keep it subtle. Over-retouched rooms look staged in a way buyers and viewers distrust.
For deeper editing tutorials, the home photo editing guide from Vibemyflat covers these steps with real before-and-after examples. When you’re focused on real estate, the photo editing for listings resource adds specific optimizations for listing platforms.
Pro Tip: Avoid the urge to over-saturate colors. Pumping saturation to make a room look vivid almost always backfires. Real spaces have muted, layered tones. Matching those tones in editing is what creates the authentic “professional” look.
Troubleshooting common image quality problems
Even with careful preparation and a solid shoot, problems appear. Knowing how to identify and fix them quickly is what separates someone who gets lucky from someone who gets consistent results.
- Inconsistent lighting across the room: This usually comes from mixed color temperatures. Fix it in editing by adjusting individual light sources, or reshoot with all lights set to the same Kelvin value.
- Perspective distortion: Walls that lean or converge at odd angles typically come from shooting too low or using too wide a lens. Use the transform panel in editing software to correct, but know that heavy corrections soften image detail. Reshoot if it’s severe.
- Distracting background elements: Items you didn’t notice during prep, a forgotten bottle on a shelf, a dog bed in the corner, can be cloned out in editing if they’re small. For larger issues, decide whether reshooting is faster than retouching.
- Color accuracy problems: If a wall color looks nothing like reality, reference any physical design samples you collected and use the color picker in your editing software to match them.
Pro Tip: Get a second set of eyes on every image before you finalize it. Fresh eyes catch composition imbalances and color drift that you stop seeing after staring at the same image for an hour.
When to reshoot versus edit is a judgment call. Minor issues (color, brightness, small clutter) are always faster to fix in post. Major issues (wrong angle, blown highlights from a window, furniture blocking the focal point) are almost always faster to reshoot. Trust your gut on this one.
My honest take on what actually moves the needle
I’ve seen photographers show up with $10,000 worth of gear and produce images that were technically correct but completely lifeless. And I’ve seen someone with a mid-range mirrorless camera and a $30 tripod produce shots that looked genuinely magazine-worthy. The difference was never the equipment. It was the preparation and the eye.
What I’ve found over time is that professional stylists are one of the most underrated assets in interior photography. Most people assume that good styling is something you can handle yourself. You can, up to a point. But a professional stylist brings spatial instincts that are hard to develop without years of experience. If you have a high-stakes shoot, it’s worth the cost.
The other thing I’d push back on is the idea that editing is a shortcut. Done right, editing is a craft. It’s where you honor the work you put into the room. Under-edit and you leave results on the table. Over-edit and you undermine the authenticity that makes a room image trustworthy. The sweet spot is an image that looks better than the room felt in person, but still believable.
My advice: get the fundamentals right, iterate on every shoot, and use tools that speed up your weakest steps. That’s where the real progress happens.
— Hello
Take your room images further with Vibemyflat
If you’ve done the work of staging, shooting, and editing but still feel like your images aren’t landing the way you want, Vibemyflat can close the gap fast. The platform lets you describe exactly what you want changed, whether that’s adjusting the lighting, swapping a wall color, or cleaning up a cluttered corner, and delivers professional-quality results in under 30 seconds. No complex software required.

For real estate professionals, photo editing for home staging has a direct impact on how fast properties sell. For designers and homeowners, Vibemyflat gives you a way to visualize changes before committing to them. Explore what’s possible at Vibemyflat and see how quickly a strong image can become a standout one.
FAQ
What is the best lighting for indoor room photos?
Natural light from windows is ideal, supplemented by interior lights turned on at least 30 minutes before the shoot. Avoid mixing warm and cool bulbs in the same frame.
What lens should I use for interior photography?
Use a 24 to 35mm lens on a full-frame camera. Ultra-wide lenses in the 14 to 16mm range create spatial distortion that makes rooms look artificial and untrustworthy.
How long does editing a room photo take?
It depends on the complexity. Simple fixes like brightness and white balance take minutes, while detailed retouching can run 30 minutes to 2 hours per image.
Do I need a professional stylist to get great room shots?
Not always, but a professional stylist significantly raises the ceiling of what’s possible. Their spatial instincts and prop selection skills go well beyond what most people achieve alone.
Can I use AI tools to enhance room images?
Yes. AI platforms like Vibemyflat let you describe changes in plain language and apply them instantly. Using specific photographic terms in your prompts, like “85mm lens” or “bokeh”, improves the accuracy and realism of AI-generated results.