Interior Visualization Guide for Designers and Homeowners
Interior Visualization Guide for Designers and Homeowners
TL;DR:
- Effective interior visualization enhances communication by providing precise and emotionally impactful space representations.
- Using optimized geometry, layered lighting, correct camera settings, and AR technology improves realism and client understanding.
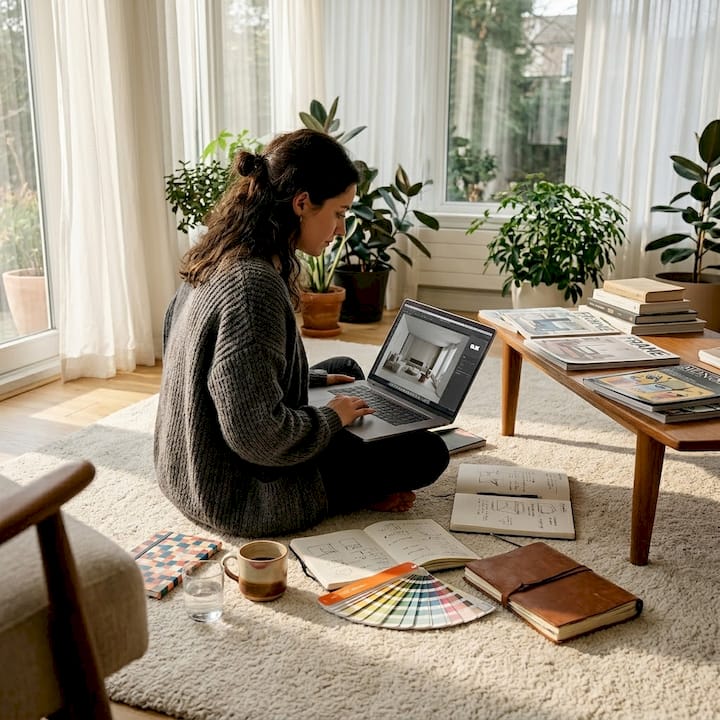
Trying to explain a design concept to a client or a contractor without a clear visual is one of the most frustrating experiences in the design world. Words fall short. Mood boards only go so far. An effective interior visualization guide solves exactly that problem by giving you the techniques, tools, and workflows needed to communicate spaces with precision and emotional impact. Whether you’re a real estate professional trying to sell a property faster, a homeowner planning a renovation, or a designer presenting concepts to clients, mastering interior design visualization changes how people understand and respond to your ideas.
Table of Contents
- Key takeaways
- Your interior visualization guide: tools and prerequisites
- How to create photorealistic interior renders step by step
- Using AR to see spaces before they exist
- Troubleshooting renders and adding storytelling impact
- My honest take on where visualization is heading
- See your spaces transformed with Vibemyflat
- FAQ
Key takeaways
| Point | Details |
|---|---|
| Start with clean geometry | Optimized, correctly scaled models prevent errors and speed up your render output significantly. |
| Lighting defines realism | Layer warm and cool light sources instead of relying on ambient light to produce believable depth. |
| Camera settings matter | Set camera height between 4’6" and 5’0" with a 24-28mm focal length to mimic natural human perspective. |
| AR closes the scale gap | Augmented reality lets clients see furniture at true 1:1 scale in real rooms, reducing costly mistakes. |
| Imperfection creates connection | Adding subtle details like fabric wrinkles and lived-in props makes renders emotionally resonant, not just technically correct. |
Your interior visualization guide: tools and prerequisites
Before you produce a single render, you need the right foundation. Choosing the wrong software or skipping asset preparation creates problems that compound through every stage of production.
The software landscape
The most widely used tools for 3D interior rendering each serve a different workflow. Here is a quick breakdown:
| Software | Best for | Rendering engine |
|---|---|---|
| 3ds Max | Complex geometry and detail work | V-Ray, Corona |
| Lumion | Fast architectural walkthroughs | Real-time |
| Blender | Budget-friendly, open-source pipeline | Cycles, EEVEE |
| SketchUp | Concept modeling for beginners | V-Ray, Enscape |
| Unreal Engine | Interactive and real-time visualization | Lumen |
Each tool has a learning curve, but the rendering engine you pair with it matters just as much as the modeling software itself. V-Ray and Corona consistently produce the most photorealistic results for static renders, while real-time engines like Lumion and Unreal Engine are pulling ahead for walkthroughs and interactive presentations.
Assets, textures, and hardware
Quality asset libraries save enormous amounts of time. Free resources like Polyhaven and Quixel offer photo-scanned textures that hold up under close render inspection. For furniture and architectural models, libraries like Evermotion and Chaos Cosmos give you pre-built, professionally crafted assets you can drop directly into scenes.
On the hardware side, a GPU with at least 8GB of VRAM handles most mid-complexity scenes. CPU rendering through Corona or V-Ray works well but requires significantly more processing time. For interior visualization for beginners, a mid-range workstation with a current-generation graphics card is sufficient to start.
Pro Tip: Before starting any project, organize your asset folders by category (furniture, lighting, materials, plants) so you can reuse them across multiple scenes. This is the single fastest way to cut production time in half.
How to create photorealistic interior renders step by step
This is where most guides stay vague. Here is a concrete, ordered process that actually works.
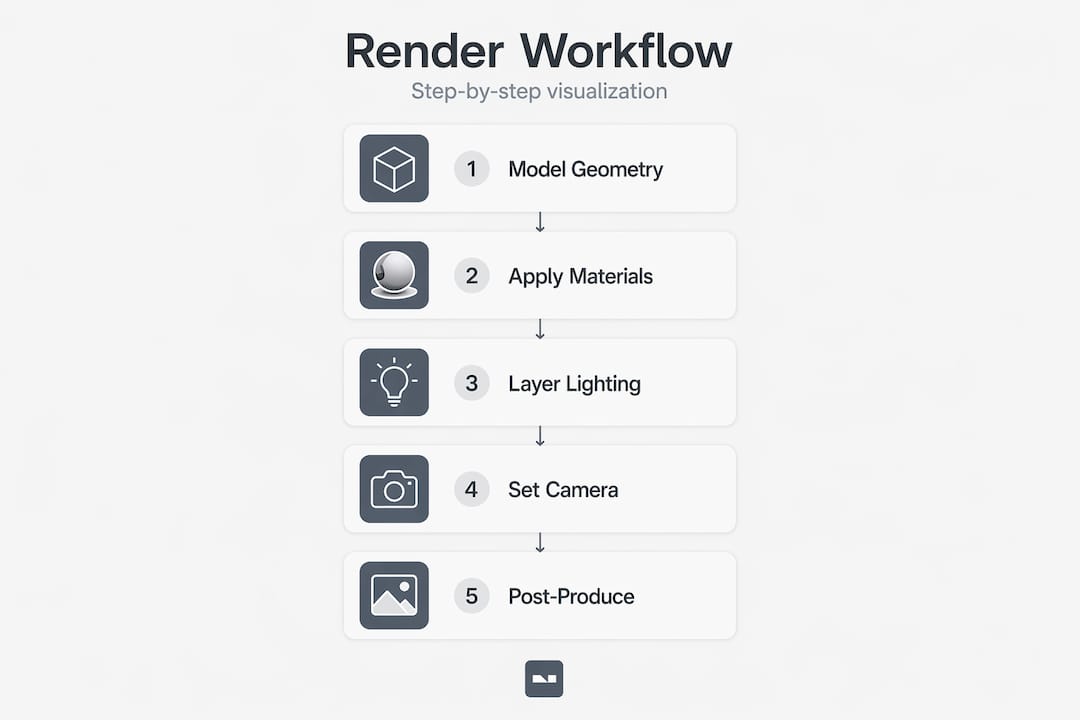
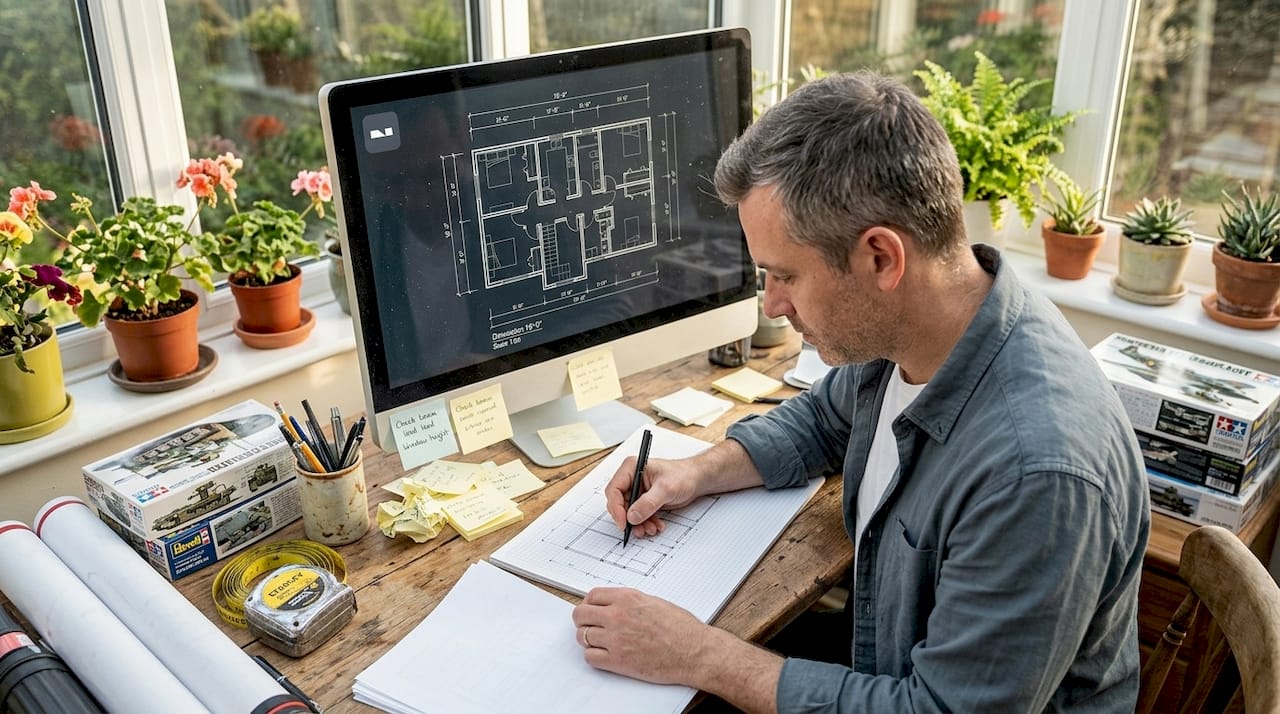
Step 1: Build clean, optimized geometry
Clean geometry and correct scale are the first things professionals check before anything else. Import your floor plan or model from scratch using real-world dimensions. Every wall, door, and ceiling height should match actual measurements. Sloppy geometry creates flickering artifacts, light leaks, and materials that refuse to tile correctly. Fix it at the start, not after you’ve already set up your lighting.
Step 2: Apply physically based materials
PBR (physically based rendering) materials simulate how surfaces actually interact with light. Each material needs at minimum three maps: a diffuse map for color, a roughness map for surface texture, and a normal map for micro-surface detail. Displacement maps add genuine depth to materials like stone, wood, and concrete. Correct texture scaling to real-world dimensions prevents the tell-tale “tiling” pattern that makes renders look artificial. For added realism, include fingerprints on glass, subtle fabric wrinkles on upholstery, and slight wear on wooden floors.
Step 3: Layer your lighting
This is where most beginners get stuck. Relying on a single ambient light source flattens the entire scene and kills depth. Avoid ambient-only setups and instead build your lighting in layers:
- Start with natural daylight through windows using an HDRI sky or sun+sky system.
- Add warm-toned artificial lights (around 2700K) for lamps and recessed fixtures.
- Layer in cooler accent lights (around 5000K) for task areas or architectural features.
- Use bounce light cards or area lights to fill dark corners without flattening shadows.
Mixing warm and cool light at intensities between 300 and 600 lux produces the kind of layered ambiance you see in high-end interior photography. You can also explore dedicated AI lighting techniques for adjusting and refining light in post-production without re-rendering the entire scene.
Step 4: Set your camera correctly
Camera height between 4’6" and 5’0" matches natural human eye level and makes spaces feel relatable rather than theatrical. Set your focal length between 24mm and 28mm for a balanced interior perspective. Going wider than that introduces distortion that stretches walls and makes furniture look warped. Optimal focal length for interiors is one of the most commonly overlooked settings for beginners, yet it accounts for a large share of renders that feel “off” without anyone being able to say why. Luxury listings using this approach see a 19% increase in price per square foot compared to properties without professional visualization.
Step 5: Render and post-produce carefully
Set your render resolution to at least 3000 pixels on the long edge for print-ready output. After rendering, bring the image into Photoshop or Lightroom for color grading. Keep adjustments subtle. Boosting contrast and saturation too aggressively creates an obvious “CGI look” that undermines all the realism you built in earlier steps.
Pro Tip: Save a standardized lighting template from your best-performing scene and reuse it as the base for every new project. This keeps your output consistent and cuts setup time by 40% or more per project.
Using AR to see spaces before they exist
Augmented reality is where interior design visualization has made its most dramatic leap in the past two years. It takes visualization from something clients look at on a screen to something they physically experience in their actual space.
How AR works for interiors
AR overlays 3D models onto a live camera feed using your phone or tablet. You place a virtual sofa in your actual living room, walk around it, check if it blocks the window, and see whether the scale works before spending a cent. AR solves scale challenges that flat renders cannot, because the furniture appears at true 1:1 size in the real environment. Clients immediately understand spatial relationships they struggle to grasp from floor plans or even photorealistic renders.
The benefits extend well beyond furniture shopping:
- Real estate agents can stage vacant properties digitally before photographing them.
- Designers can test multiple material and furniture options with clients in real time.
- Homeowners planning renovations can see finished results before demolition starts.
- Commercial clients can evaluate traffic flow in retail or office layouts.
No-code AR tools making this accessible
Several no-code platforms now let designers create interactive AR scenes without writing a single line of code. These tools accept standard 3D model formats and deploy directly to a web browser or native app. AR technologies increase client trust by making spatial understanding concrete rather than conceptual. Clients who can physically walk around a virtual layout make decisions faster and with greater confidence.
“Immersive and interactive visualization experiences are increasingly requested by clients for interior presentations, with real-time changes and walkthroughs becoming the new standard expectation.”
The next wave combines AR with AI spatial computing, where the software automatically places furniture according to room dimensions and lifestyle preferences. For a deeper look at how AI is reshaping the full visualization process, the AI makeover guide covers the practical side of integrating these tools into real projects.
Troubleshooting renders and adding storytelling impact
Technical accuracy gets you a correct render. Storytelling makes it compelling. These are two separate skills, and the best visualization work requires both.
Common issues and how to fix them
- Scale errors: If furniture looks toy-like or oversized, recheck your scene units against real-world measurements before touching materials or lighting.
- Flat lighting: A render that looks like a brightly lit showroom usually means ambient light is overwhelming your shadow detail. Remove it and rely on direct and bounce sources.
- Obvious tiling textures: Increase your texture scale in the material editor. Most imported materials default to a scale that looks absurd at room size.
- Over-processed post-production: If you’re pushing contrast and saturation more than 20 to 30 percent from the raw render, you’ve gone too far. Pull back.
- Distorted proportions: Wide-angle lenses below 20mm cause perspective distortion that makes rooms feel like a funhouse. Stay in the 24 to 35mm range.
Making renders feel lived in
The 2026 trend favors cinematic, lived-in renders over sterile, symmetrical compositions. Add an open book on the coffee table. Leave a coffee mug near the kitchen counter. Tilt a throw pillow slightly off-axis. These subtle storytelling elements trigger an emotional response that makes viewers imagine themselves in the space rather than simply observing it.
Pro Tip: Build a “lifestyle prop kit” of 30 to 50 small objects (books, plants, food items, personal accessories) that you can quickly scatter into any scene. Reusing these across projects saves hours and keeps your storytelling consistent.
Before delivering any final render, run through this quality checklist:
- All geometry uses real-world scale and measurements.
- Materials are correctly mapped with at least diffuse, roughness, and normal maps.
- Lighting layers include at least one natural source and two artificial sources.
- Camera height is between 4’6" and 5’0" with focal length between 24mm and 35mm.
- Lifestyle props are present and arranged naturally.
- Post-production adjustments are subtle and preserve material realism.
My honest take on where visualization is heading
I’ve spent years watching the interior visualization field swing between extremes. Early 3D renders tried to look perfect and ended up looking sterile. Then the “hyper-realistic” phase arrived, and everyone chased resolution and technical precision above everything else. What I’ve noticed lately is the most effective work isn’t necessarily the most technically polished. It’s the work that tells a story.
The renders that stop people mid-scroll are the ones with intentional imperfection. A shaft of afternoon light catching dust particles. A blanket that looks like someone just got up. These details cost almost nothing in render time but add everything in emotional weight.
What I’ve also learned is that workflow efficiency is underrated. Most professionals I know don’t build scenes from scratch anymore. They maintain personal asset libraries, reuse lighting setups, and treat templates as their competitive advantage rather than a shortcut. Speed and quality are not in conflict when your systems are solid.
AR is the part of this field I’m most excited about right now. Watching a client’s face change when they actually walk around a piece of furniture placed in their real room is something no flat render can replicate. It removes the translation layer between concept and understanding. That matters more than any resolution upgrade.
The field keeps moving. Stay curious, stay practical, and don’t mistake technical perfection for good communication.
— Hello
See your spaces transformed with Vibemyflat
If you’re looking for a faster way to apply the principles in this guide without mastering complex 3D software from scratch, Vibemyflat is built precisely for that gap.

Vibemyflat’s AI-powered platform lets you describe changes in plain language and receive professional-quality results in under 30 seconds. Change wall colors, adjust lighting, redesign furniture layouts, and enhance property photos without any technical background required. Whether you’re a real estate agent preparing a listing, a designer presenting a concept, or a homeowner planning a renovation, you can start visualizing instantly on any device. For more on applying smart digital editing to real interior projects, the guide to digital editing for interiors walks through practical approaches worth bookmarking.
FAQ
What software is best for interior visualization beginners?
SketchUp paired with Enscape or V-Ray is the most accessible entry point for beginners because of its intuitive modeling interface and fast rendering previews. Blender is a strong free alternative with a steeper learning curve but no cost barrier.
How do I make interior renders look more realistic?
Photorealism comes from correctly simulating light-material interaction, not just image resolution. Focus on PBR materials, layered lighting with warm and cool sources, and subtle imperfections like texture wear and lifestyle props.
What camera settings should I use for interior 3D rendering?
Set your camera height between 4’6" and 5’0" to match natural human eye level, and use a focal length between 24mm and 35mm. Going wider causes perspective distortion that makes rooms look unnatural and disproportionate.
How does AR improve interior design presentations?
AR places 3D models at true 1:1 scale in a real environment using a phone or tablet camera, which helps clients understand spatial relationships instantly. This reduces decision-making time and significantly lowers the risk of costly purchasing or layout mistakes.
Can I use AI tools for interior visualization without technical skills?
Yes. Platforms like Vibemyflat use natural language input so you can describe changes to an interior photo and receive edited results in seconds, making professional-quality visualization accessible without any 3D modeling or rendering knowledge.