Professional quality photo editing steps for real estate
Professional quality photo editing steps for real estate

TL;DR:
- AI-powered photo editing simplifies creating professional, eye-catching property images efficiently.
- Combining AI with human review ensures natural, high-quality results, especially for luxury listings.
- Rapid batch processing with proper tools and careful inspection boosts listing appeal and saves time.
Listing photos that look flat, dark, or cluttered can quietly kill buyer interest before a single showing is scheduled. In a market where most buyers scroll through dozens of listings in minutes, a dull photo is simply skipped. The good news is that AI-powered photo editing has made it genuinely easy to produce sharp, magazine-quality images without hiring a professional retoucher or spending hours in Lightroom. Whether you’re a real estate agent managing a portfolio of listings, an interior designer presenting a concept, or a homeowner trying to sell faster, this guide walks you through the exact steps to get professional results with modern AI tools.
Table of Contents
- What you need to get started with professional photo editing
- Step-by-step: Editing your real estate photos with AI
- Common mistakes and how to avoid them
- Evaluating and showcasing your results
- Why the best photo editing workflows now combine speed and human touch
- Transform your property photos with VibeMyFlat
- Frequently asked questions
Key Takeaways
| Point | Details |
|---|---|
| Leverage AI for speed | AI photo editing tools dramatically reduce editing time, allowing quick turnaround for listing photos. |
| Add human finesse | Manual touch-ups after AI processing catch subtle issues and elevate image quality for premium properties. |
| Avoid over-editing | Always review photos for artifacts or unnatural effects before publishing to ensure professional results. |
| Showcase results effectively | Use before-and-after comparisons and high-resolution previews to attract buyer or client interest. |
What you need to get started with professional photo editing
Before you touch a single image, it pays to have the right setup. Jumping in without the correct tools or file types is the fastest way to waste time and end up with mediocre results.
The AI editing landscape has matured quickly. Platforms like Phixer, AI Homedesign, and Autoenhance.ai now reduce editing time by 90% compared to fully manual workflows, handling everything from exposure correction to sky replacement in seconds. If you’re new to this space, brushing up on AI photo editing basics will help you choose the right tool for your specific needs.
Essential tools and requirements:
- A cloud-based AI editing platform (Phixer, Autoenhance.ai, or VibeMyFlat for interior-focused work)
- High-resolution RAW or JPEG files, ideally shot with a wide-angle lens
- Stable internet connection for cloud processing and batch uploads
- A device with a calibrated monitor so color corrections look accurate
- A folder structure that separates rooms by type (kitchen, living room, exterior)
| Image type | Editing priority | AI tool strength |
|---|---|---|
| Daylight interior | Exposure, white balance | High |
| Twilight exterior | Sky replacement, HDR | High |
| Luxury space | Fine detail, style | Medium (needs review) |
| Virtual staging | Object placement | Medium |
Pro Tip: Use batch processing for any portfolio with more than five images. Cloud-based platforms let you upload an entire shoot and apply consistent settings across every room, saving hours on repetitive adjustments.
Images that benefit most from AI editing are those with mixed lighting (natural plus artificial), slight lens distortion from wide-angle shots, and minor clutter that distracts from the space. These are exactly the problems AI handles fastest.
Step-by-step: Editing your real estate photos with AI
With your tools ready, here’s exactly how to turn ordinary images into eye-catching real estate visuals step by step.
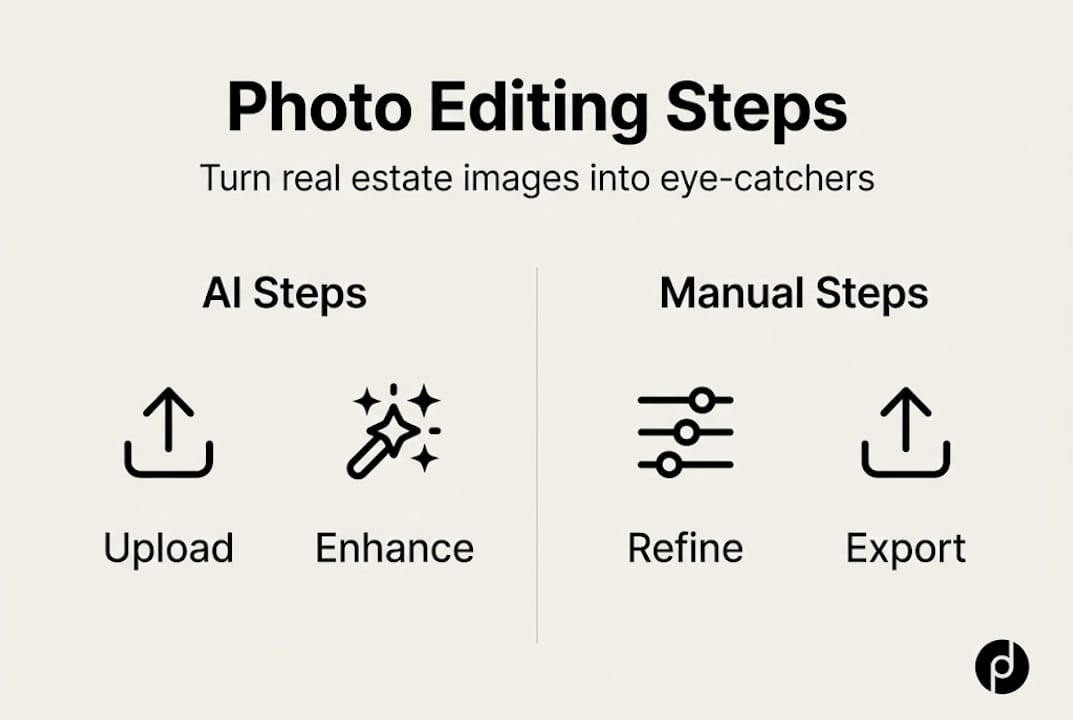
1. Upload and organize your images. Group photos by room or property section before uploading. Most platforms let you create folders or albums, which makes batch processing cleaner and faster.
2. Select your enhancement settings. Choose corrections relevant to each image type. For interiors, prioritize white balance, exposure, and lens distortion correction. For exteriors, add sky replacement and HDR blending. Most AI platforms offer presets built for real estate specifically.
3. Run the AI pass. Let the platform process your images. Good AI tools complete edits in seconds while maintaining consistency across a full shoot. Review the output immediately for blending issues or artifacts, which are unnatural-looking patches the AI sometimes creates.
4. Apply manual refinements where needed. AI handles routine corrections well, but a hybrid AI and human approach is recommended for anything complex. Use manual tools to fix edges, adjust selective color, or clean up object removal results that look slightly off.

5. Export in the right format. Most listing platforms prefer JPEG at 72 to 96 DPI for web display, but keep a high-resolution copy for print or large-format use.
| Editing method | Speed | Consistency | Creative control |
|---|---|---|---|
| AI only | Very fast | High | Low |
| Manual only | Slow | Variable | High |
| AI plus human | Fast | High | High |
Following quick AI editing steps like these creates a repeatable system, which is especially valuable when you’re managing multiple listings simultaneously. The fast photo editing benefits go beyond time savings: consistent quality across a portfolio builds trust with buyers and clients.
Pro Tip: Save your preferred settings as a named preset for each common scenario, such as “bright kitchen daylight” or “evening exterior.” Applying a preset cuts setup time on future shoots to almost nothing.
Common mistakes and how to avoid them
Even the best tools can misstep. Here’s how to bypass the most common issues.
Over-editing is the most frequent problem. When AI cranks up exposure or saturation too aggressively, rooms start to look fake. Buyers notice. A living room that glows like a film set actually raises suspicion rather than excitement. Aim for images that look like a better version of reality, not a fantasy.
Common mistakes to watch for:
- Unnatural lighting gradients where the AI has blended two exposures poorly
- Harsh or oversaturated colors, especially in warm-toned rooms
- Messy edges around removed objects (furniture, cords, personal items)
- Lens distortion left uncorrected, making walls appear to bow outward
- Skies that look pasted on rather than naturally integrated
“AI often introduces artifacts or misses nuances in complex or luxury spaces, making human review critical for high-stakes images.” AI vs Human Editing Test
Luxury properties and architecturally complex rooms deserve extra attention. A grand foyer with intricate molding or a kitchen with mixed metal finishes will expose AI limitations quickly. These are exactly the images where editing for home staging requires a human eye to catch what automation misses.
Always zoom in to 100% before publishing. Artifacts that look invisible at thumbnail size become obvious when a buyer clicks to enlarge. This one habit alone will elevate your property visuals well above the average listing.
Evaluating and showcasing your results
With your photos edited, it’s time to check your work and use the results to their full potential.
The most useful evaluation method is a side-by-side comparison. Look at the original, the AI-edited version, and the AI-plus-human-refined version together. This three-way comparison quickly reveals where automation helped, where it fell short, and what the final polish added.
Quality checklist before publishing:
- Resolution is sufficient for web and print use (minimum 1500px on the long edge)
- Colors look accurate and consistent across all rooms in the same shoot
- The image has a natural look, not an overly processed or HDR-heavy appearance
- All distractions are cleanly removed with no visible artifacts
- Lighting appears realistic and flattering without being dramatic
| Quality factor | What to check | Red flag |
|---|---|---|
| Color accuracy | Whites look white, not yellow or blue | Color cast across the frame |
| Natural look | Shadows have soft edges | Flat or blown-out areas |
| Object removal | Clean background fill | Smearing or repeated patterns |
| Sharpness | Fine details are crisp | Blurring around edges |
As hybrid workflows confirm, combining AI speed with human nuance produces the strongest final images. Once your images pass the checklist, use before-and-after sliders in your listings. These interactive elements consistently boost engagement because buyers can see the transformation themselves.
For design portfolios and staging showcases, a gallery layout with labeled before-and-after pairs tells a compelling visual story. Understanding the full professional editing impact helps you present these results strategically. A seamless photo editing workflow also means you can turn around polished images within hours of a shoot, not days.
Why the best photo editing workflows now combine speed and human touch
There’s a persistent myth in real estate marketing that better tools automatically mean better results. It’s tempting to believe that a powerful AI platform handles everything. It doesn’t, and understanding why matters.
AI accelerates the mechanical parts of editing: exposure, white balance, batch consistency. These are tasks that used to eat hours. But AI doesn’t understand that a buyer looking at a luxury penthouse expects a different visual mood than someone browsing a starter home. It can’t recognize that the warm tone in a particular kitchen photo is actually a selling feature worth preserving, not a color cast to correct.
Human editors bring style consistency, context awareness, and the ability to make judgment calls that serve the listing’s specific audience. That’s not a small thing. It’s often the difference between an image that stops a scroll and one that gets skipped.
As hybrid AI and human editing consistently demonstrates, the optimal workflow uses AI for the first pass and human judgment for the final layer. This isn’t a workaround for AI’s limitations. It’s a deliberate strategy that delivers both speed and polish. The platforms that understand AI visualization benefits build this collaboration into their design rather than treating automation as a replacement for expertise.
Transform your property photos with VibeMyFlat
If you’re ready to put these steps into practice without juggling multiple apps or wrestling with complex software, VibeMyFlat was built exactly for this. The platform lets you describe the changes you want in plain language and delivers professional-quality results in under 30 seconds, whether you’re adjusting lighting, changing wall colors, or removing clutter from a room.

Real estate agents, interior designers, and homeowners use VibeMyFlat photo editing solutions to turn ordinary listing photos into compelling visuals without a steep learning curve. The AI understands design principles, so your edits look intentional, not automated. For more strategies, tutorials, and AI tips and inspiration, the VibeMyFlat blog is updated regularly with practical guidance for every skill level.
Frequently asked questions
What is the fastest way to enhance real estate photos professionally?
AI-powered editing platforms with batch processing can cut editing time by 90% compared to manual workflows, making them the fastest option for large portfolios.
Do AI editing tools work well for complex or luxury property photos?
AI handles routine corrections quickly, but human review is superior for nuanced or high-value spaces where style and context matter most.
What are the most common mistakes in automated photo editing?
Over-editing, artifacts from object removal, and missed small flaws are frequent issues. Always zoom in and inspect every image before it goes live on a listing.
Is a hybrid AI and human editing approach worth it?
Yes. Hybrid workflows deliver both the speed of automation and the quality of human judgment, which is especially valuable for competitive or high-stakes listings.