Streamline Your Property Photo Editing Workflow
Streamline Your Property Photo Editing Workflow
TL;DR:
- Professional-quality edits significantly reduce listing time and attract more buyers.
- Proper preparation and a repeatable workflow ensure consistent, ethical, and impactful property photos.
- AI tools like VibeMyFlat can streamline editing and enhance results instantly for real estate listings.
Great property photos can cut listing time significantly, and buyers make snap judgments within seconds of seeing an image online. Yet most listings still feature dark, distorted, or flat photos that push buyers to scroll past without a second look. The difference between a fast sale and a listing that sits for months often comes down to editing quality. This guide walks you through every stage of an effective property photo editing workflow, from gear and prep to final export, so you can produce consistent, professional results whether you’re shooting one home or twenty.
Table of Contents
- What you need before editing property photos
- Step-by-step property photo editing workflow
- Tackling common property photo editing challenges
- Final checks and exporting property images
- A proven workflow, with flexibility for modern tools
- Enhance your photo editing workflow with VibeMyFlat
- Frequently asked questions
Key Takeaways
| Point | Details |
|---|---|
| Prepare before editing | Gather all equipment, software, and organize files to speed up your workflow and reduce mistakes. |
| Follow a consistent workflow | Use a structured approach for every photo so your listing images look professional every time. |
| Handle lighting issues ethically | Balance interiors and exteriors with HDR and edits, but avoid misrepresentation. |
| Verify and export correctly | Double-check edits for realism, then export images in the right format for your listing platform. |
| Use new technology wisely | AI tools make editing faster but should never replace ethical or creative judgment. |
What you need before editing property photos
Before you dive into editing, it’s essential to set yourself up with the right tools and approach. Skipping this stage is one of the most common reasons editors end up with inconsistent results, even when they follow a solid workflow later.
Camera and capture basics matter more than most people think. A full-frame or APS-C camera with a wide-angle lens (16-24mm equivalent) gives you the coverage needed for tight rooms. A sturdy tripod is non-negotiable for HDR brackets and long exposures. For lighting, a combination of natural light and portable flash units helps you avoid the color casts that haunt poorly lit interiors.
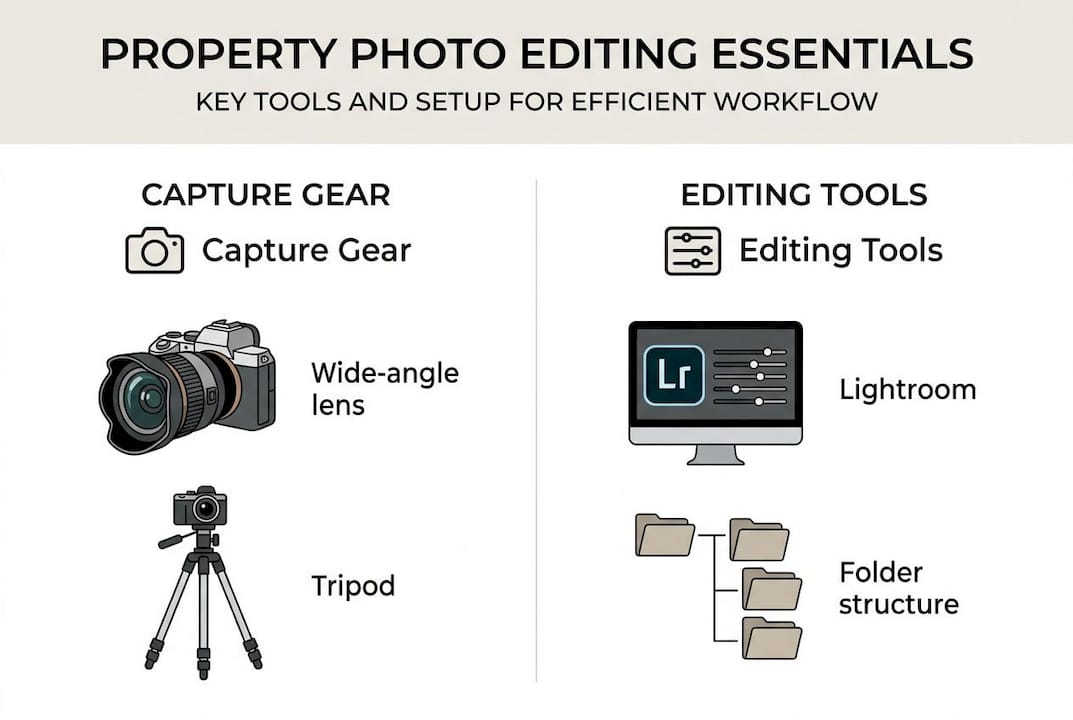
Choosing the right user-friendly photo editing tools is equally critical. Adobe Lightroom handles batch corrections and catalog management well. Photoshop steps in for complex compositing like window pulls. AI-powered editors are increasingly popular for fast, repeatable tasks. Each tool has a role, and knowing when to use which one saves hours per project.
File organization is underrated. Before importing a single image, create a clear folder structure: shoot date, property address, and room type. Rename files on import using a consistent convention like "2026-03-15_123MainSt_LivingRoom_001.jpg`. This sounds tedious, but it prevents the chaos of searching for “DSC_4892” three weeks later.
Pro Tip: Prep interiors and exteriors differently from the start. Interiors need exposure bracketing for HDR, while exteriors often only need a single well-exposed shot with sky and lawn enhancement in post. Mixing these workflows creates confusion and slows you down.
Here’s a quick pre-editing checklist:
- Confirm all brackets and angles are captured on location
- Back up raw files to two locations before editing begins
- Check for lens distortion issues by reviewing a test shot
- Stage and declutter rooms before the shoot, not after in post
- Set consistent color temperature on camera for each room type
| Prep task | Interiors | Exteriors |
|---|---|---|
| Bracketed exposures | Yes (3-5 shots) | Optional |
| Tripod required | Always | Recommended |
| Flash/strobe needed | Often | Rarely |
| Sky/lawn check | No | Yes |
| Declutter before shoot | Critical | Moderate |
As best practices for challenging lighting confirm, proper prep directly reduces common editing pitfalls. Solid photo editing preparation at this stage pays dividends through every step that follows.
Step-by-step property photo editing workflow
With preparation complete, you’re ready for the detailed, hands-on part of editing. Following a repeatable sequence keeps your quality consistent across every property, regardless of how many images you’re processing.
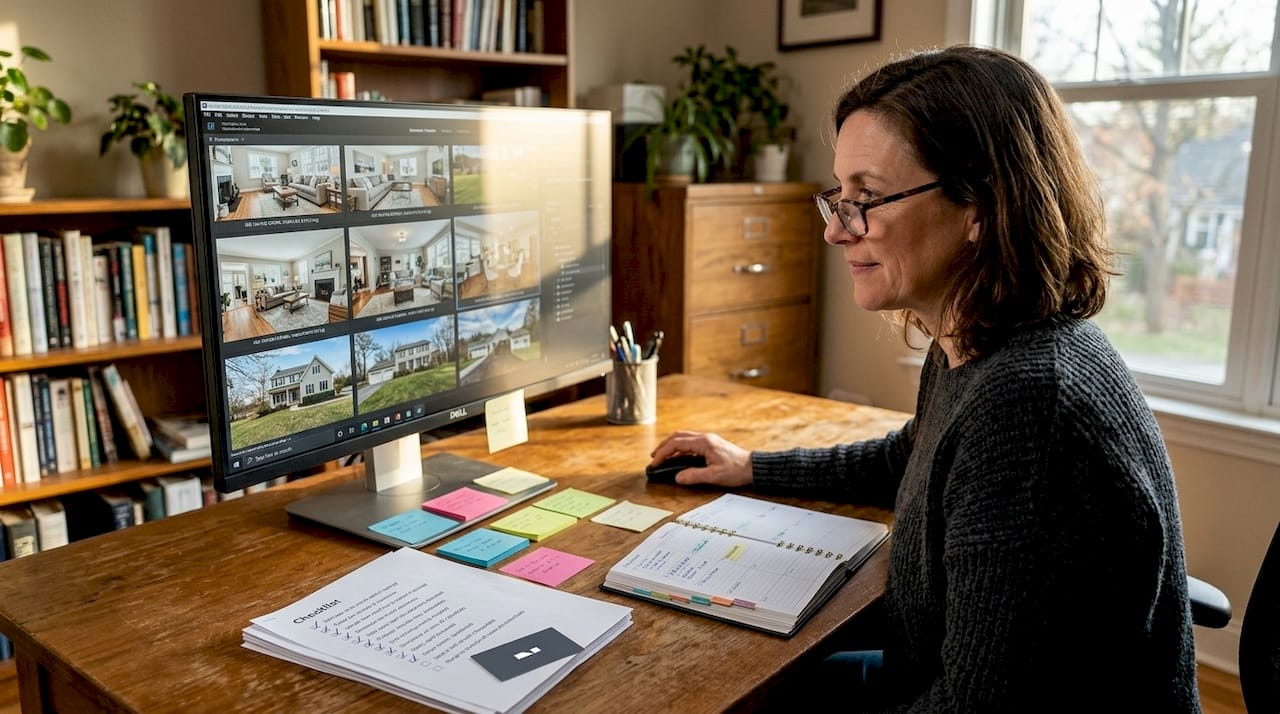
1. Import and cull. Bring all raw files into Lightroom and flag your best shots per angle. Aim for one hero image per room view. Delete obvious duds immediately to reduce clutter.
2. Apply lens correction. Enable the lens profile correction in Lightroom to fix barrel distortion and vignetting automatically. Then use the transform tools to straighten vertical lines, especially walls and door frames. Crooked verticals are one of the first things buyers notice.
3. Handle lighting: HDR merge vs. window pull. For interiors with bright windows, you have two main options. HDR merge combines multiple exposures automatically, which is fast but can produce ghosting if anything moved between shots. A window pull is more precise: you manually blend a properly exposed exterior shot into your interior base image using Photoshop masks. As radial gradients for exposure show, using radial gradients to feather the blend avoids harsh edges and ghosting artifacts.
4. Color correction and white balance. Set white balance using a neutral gray point in the room. Correct any color casts from mixed light sources, which is common when daylight and warm tungsten bulbs coexist. Use HSL (hue, saturation, luminance) sliders to bring out natural tones without oversaturation.
5. Final touches. Crop to a natural composition, apply light sharpening (amount 40-60 in Lightroom), and reduce noise if shooting at ISO 800 or above. Use the step-by-step editing tutorial approach for a structured final pass.
| Technique | Best for | Risk if overused |
|---|---|---|
| HDR merge | Fast batch processing | Ghosting, unnatural look |
| Window pull | Precise light blending | Time-intensive |
| Radial gradients | Exposure feathering | Visible halos |
| AI auto-edit | Repetitive corrections | Loss of fine control |
Pro Tip: Apply lighting adjustment tips before any color work. Fixing exposure first means your color corrections are working from an accurate baseline, not compensating for brightness errors.
6. Export. Save a master TIFF, then export web-ready JPEGs at the platform’s required specs. Always export from the master, never from a previous JPEG.
Tackling common property photo editing challenges
Even with a solid workflow, common challenges can disrupt your results. Knowing what to expect and how to respond keeps your projects on schedule.
Window and interior lighting mismatches are the most frequent issue. The camera cannot capture the full dynamic range your eye sees. When the window is properly exposed, the interior goes dark. When the interior is bright, the window blows out. HDR and window pulls solve this conflict effectively, though each requires practice to execute cleanly.
“The goal is to show the property as it genuinely looks at its best, not to fabricate a reality that buyers won’t recognize when they walk through the door.”
Sky replacement and lawn enhancement are where ethics become a real conversation. Replacing a gray, overcast sky with a blue one is widely accepted. Turning a dead brown lawn lush green is more debatable. The rule of thumb: editing for home staging purposes is about showing potential, not hiding problems. If the lawn is dormant due to season, a green enhancement is fair. If it’s dead from neglect and that’s a material condition, editing it out crosses a line.
Here are the most common challenges and quick fixes:
- Color casts: Use the white balance eyedropper on a neutral surface, then fine-tune with HSL sliders
- Shadow clipping: Use the shadows slider and targeted radial filters to open up dark corners
- Barrel distortion: Apply automatic lens correction profiles and manual keystone adjustments
- Blown highlights: Recover with the highlights slider, or blend in a properly exposed bracket
- Batch inconsistency: Use Lightroom’s sync settings feature to apply corrections across similar shots
AI tools have made batch corrections dramatically faster. You can apply a base edit to one image and sync across dozens in seconds. For enhancing interior lighting at scale, AI-assisted tools cut processing time without sacrificing accuracy.
A key statistic worth noting: listings with professionally edited photos receive significantly more online views than those with unedited images, reinforcing why solving these challenges is worth the investment.
Final checks and exporting property images
Once your images are edited, the final review and export process determines how polished your photos will appear to buyers and clients. Rushing this stage is where even experienced editors make costly mistakes.
Review checklist before exporting:
- Check every image at 100% zoom for sensor dust spots and unwanted objects
- Verify verticals and horizontals are truly straight, not just close
- Confirm color consistency across all rooms, especially white walls and ceilings
- Look for halo artifacts around windows from aggressive HDR or masking
- Ensure no misleading edits are present, since checking edits for realism is a professional and ethical standard
Pro Tip: View your final images on a second screen or mobile device before exporting. What looks balanced on your calibrated monitor may appear too dark or too warm on a standard laptop or phone screen.
Export settings by platform:
| Platform | Format | Resolution | Max file size |
|---|---|---|---|
| MLS | JPEG | 1024x768 min | 10 MB |
| Zillow/Realtor.com | JPEG | 1920x1080 | 10 MB |
| JPEG | 1080x1080 | 8 MB | |
| Print/brochure | TIFF | 300 DPI | No limit |
For professional photo editing insights on high-volume projects, batch exporting in Lightroom using export presets saves significant time. Create one preset per platform and apply it with a single click.
Avoid re-exporting from a compressed JPEG. Always go back to your raw or TIFF master. Each generation of JPEG compression adds visible artifacts, especially in gradients like skies and walls.
A proven workflow, with flexibility for modern tools
After working through hundreds of property shoots, one thing becomes clear: rigid workflows are a starting point, not a ceiling. New editors benefit enormously from following a fixed sequence because it builds muscle memory and prevents skipped steps. But as you gain experience, the workflow becomes a framework you adapt, not a checklist you obey.
The real shift happens when you stop treating AI tools as shortcuts and start treating them as collaborators. AI editors handle the repeatable, mechanical parts of editing fast. What they cannot replace is your judgment about what a property actually looks like and what a buyer deserves to see. That ethical layer is entirely human.
Investing time in refining your workflow also delivers measurable ROI. Agents who produce consistently polished listings build a reputation that attracts more clients. The fast photo editing advantages compound over time: faster turnaround, higher volume, and stronger client retention. The workflow is not just a technical process. It’s a competitive advantage.
Enhance your photo editing workflow with VibeMyFlat
For those looking to streamline their workflow with next-generation tools, there’s a solution designed for real estate pros and homeowners alike. If the steps above feel like a lot to manage manually, that’s exactly the problem VibeMyFlat was built to solve.

With the VibeMyFlat AI photo editor, you can describe the changes you want in plain language and receive professional-quality results in under 30 seconds. Adjust lighting, change wall colors, or refresh an entire room’s look without touching a single slider. It works on desktop and mobile, making it accessible whether you’re in the office or on location. For agents and homeowners who need results fast without sacrificing quality, VibeMyFlat fits directly into the workflow you’ve just built.
Frequently asked questions
What is the best software for property photo editing in 2026?
AI-powered editors, Adobe Lightroom, and Photoshop are the most popular choices for their efficiency and capabilities. The right pick depends on your volume and how much manual control you need.
How do I fix window glare or blown-out highlights in property photos?
Use HDR blending or window pull techniques to balance interior and exterior light, avoiding ghosting effects. Radial gradients help feather the transition for a natural result.
Is it ethical to edit lawns or skies in property photos?
Enhancing dormant lawns or dull skies is often acceptable, but images should not misrepresent the property. As sky and lawn editing debates show, the line is between showing a property at its best versus hiding genuine defects.
How do I prepare property images for different listing sites?
Export images in web-optimized formats and sizes according to each site’s specifications for best results. Using platform-specific export presets in Lightroom makes this process fast and consistent.