The Role of Lighting in Home Photos: A Practical Guide
The Role of Lighting in Home Photos: A Practical Guide
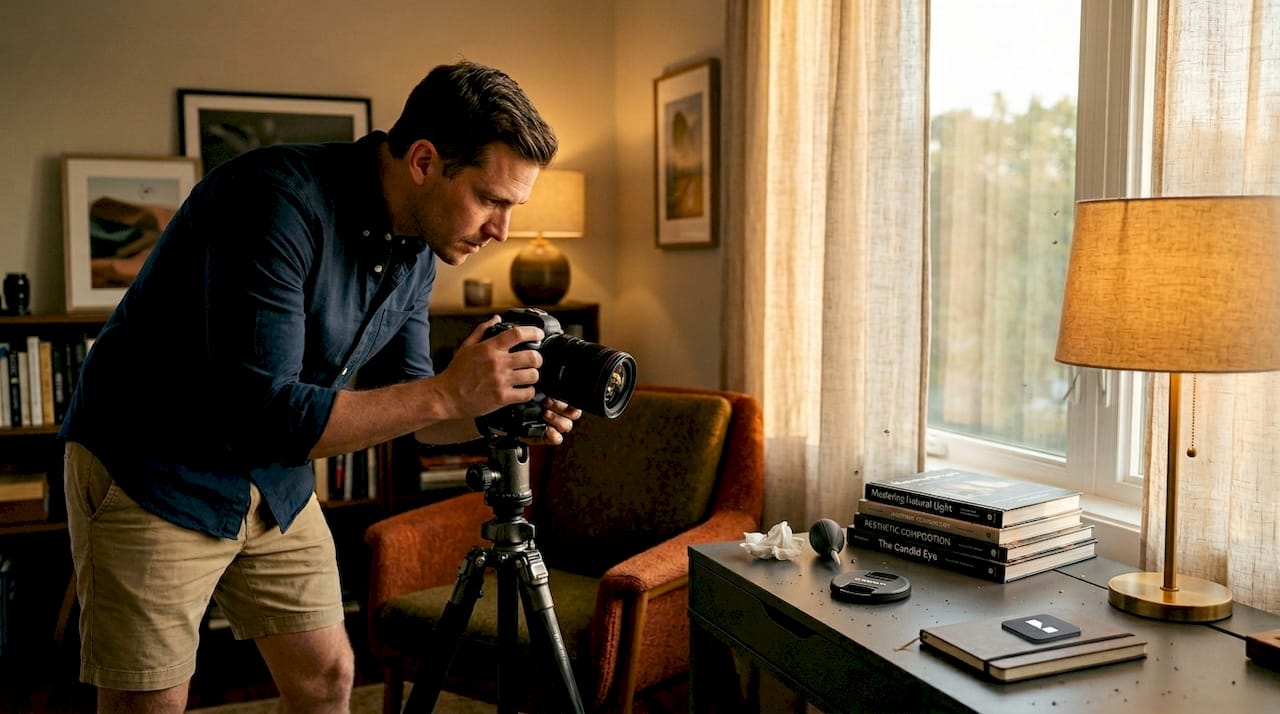
TL;DR:
- Effective home photography requires deliberate control of lighting to balance dynamic range, color accuracy, and depth. Relying solely on natural light often results in blown-out windows and flat images, but techniques like flambient blending and layered lighting produce natural-looking, well-exposed results. Proper use of high-CRI bulbs and multiple light sources enhances color fidelity and creates inviting, professional-quality photos.
Walk into any well-photographed room and you feel it before you analyze it. The light is doing the work. The role of lighting in home photos goes far beyond simply having enough brightness to see the furniture. It shapes mood, reveals color accurately, controls depth, and tells the viewer whether a space feels inviting or cold. Most people assume good natural light is enough. It rarely is. This guide breaks down how light actually behaves inside a home, which techniques produce professional results, and how both photographers and homeowners can take deliberate control of every shot.
Key takeaways
| Point | Details |
|---|---|
| Lighting shapes everything | Light controls mood, depth, and color accuracy in every home photo. |
| Natural light alone falls short | Windows and interiors rarely expose correctly together without technique. |
| Flambient solves dynamic range | Blending ambient and flash exposures creates balanced, realistic results. |
| CRI 90+ improves color fidelity | High-CRI bulbs render furniture and wall colors accurately in photos. |
| Layering prevents flat images | Using 2 to 3 light sources per room adds depth and reduces harsh shadows. |
The role of lighting in home photos: why it’s so hard to get right
The biggest challenge in home photography is not low light. It is the violent difference between the brightness near a window and the dimness of the room behind it. This gap is called dynamic range, and your camera struggles with it in ways your eyes never do. Your eyes adjust constantly, but a camera locks in a single exposure for every frame.
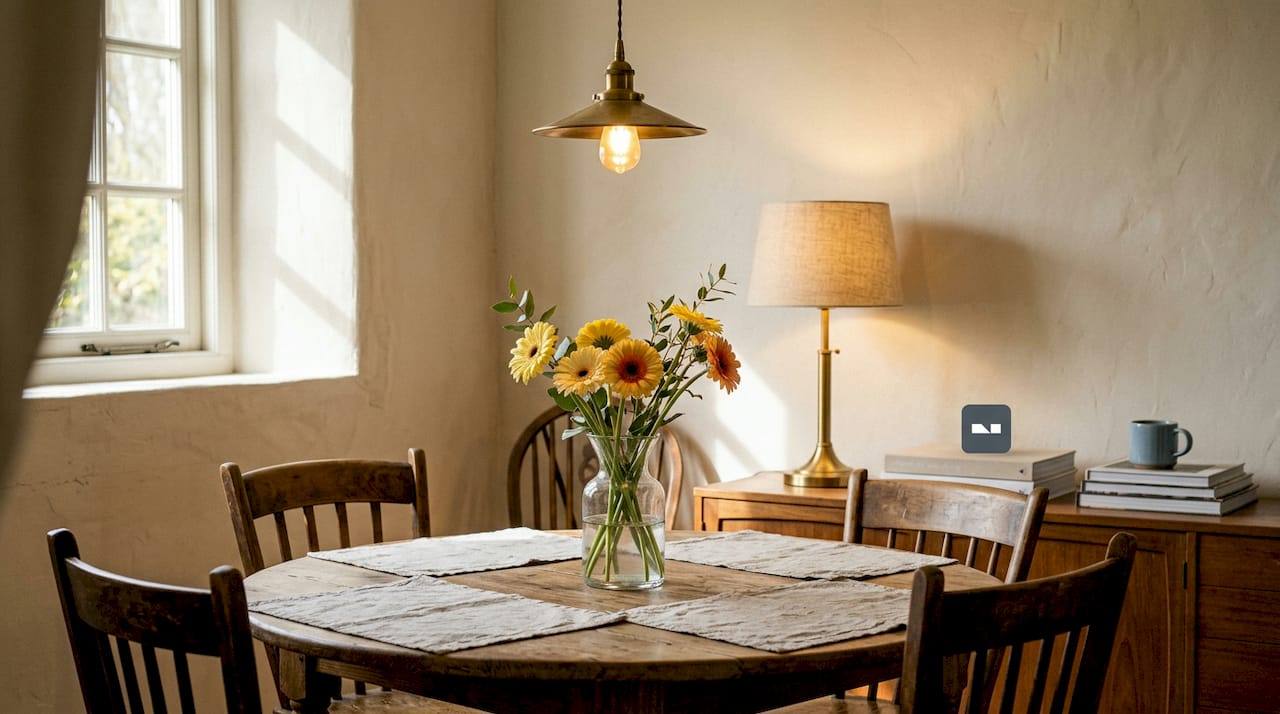
Point your camera at a bright window and the room goes dark. Expose for the room and the window turns into a white rectangle with no detail at all. Blown-out windows signal a technically weak photo and reduce the perception of space, which matters enormously for real estate listings and interior design portfolios alike.
The difference between approaches becomes obvious when you compare methods:
| Method | Window detail | Interior exposure | Color accuracy | Post-processing effort |
|---|---|---|---|---|
| Natural light only | Often blown out | Uneven | Affected by daylight color | Moderate to high |
| HDR only | Good | Good | Can look unnatural | High |
| Flambient blending | Excellent | Balanced | High | Moderate |
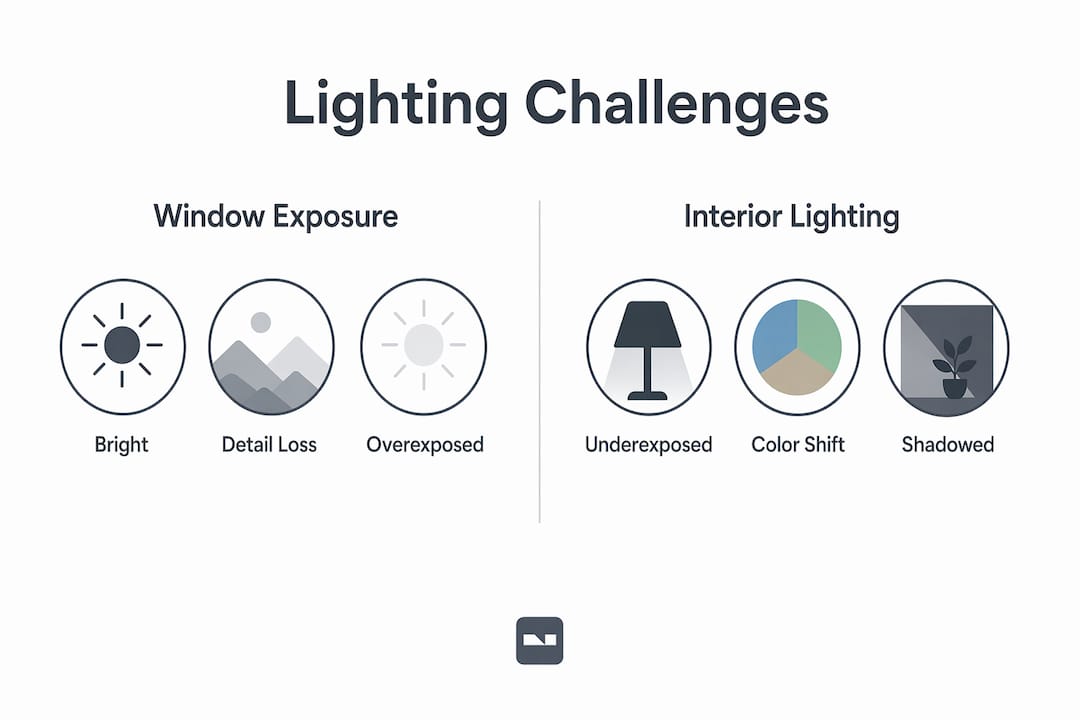
Understanding why your camera fails here is the foundation for fixing it. One stop of light equals doubling or halving your exposure, which means the gap between a sunlit window and a shaded corner can be eight or ten stops wide. No single exposure bridges that gap cleanly.
Natural light is beautiful in concept. In practice, it changes by the minute, casts shadows at angles you cannot control, and leaves walls looking dim while windows blow out. Relying on it exclusively puts you at the mercy of conditions you cannot direct.
Professional techniques for balanced light
What flambient photography actually does
Flambient photography solves the dynamic range problem by capturing multiple exposures and blending them in post-processing. You shoot an ambient frame to preserve window mood and natural color. You shoot a flash frame to properly expose the interior. You pull a separate “window frame” to retain crisp exterior detail. Then you blend the three in editing software.
The result looks like natural light but is technically engineered. Color correction applied per zone prevents the color cast contamination you get when tungsten bulbs and daylight compete in the same ambient-only exposure. This is why professional real estate photographers prefer flambient over HDR: HDR can look artificial and tone-mapped, while flambient looks like a very good natural photo.
Layering light for depth
The concept of layered lighting comes directly from professional studio work. You build a scene with a key light (the dominant source), a fill light (softening shadows), and a rim or accent light (adding separation and dimension). This three-layer logic applies perfectly to home photography.
Layered lighting with multiple sources at different heights creates depth and eliminates the flat, shadowless look that makes rooms seem smaller and less interesting. A ceiling light alone produces flat, downward shadows. Add a table lamp and a floor lamp and the room suddenly has dimension, warmth, and visual interest. The camera records all of this.
Pro Tip: Turn off your overhead lights entirely and shoot a test frame using only lamps and accent lights. You will almost always prefer that version. Overhead light is functional for living in a room. It is rarely the best choice for photographing one.
Color accuracy and why CRI matters
What Color Rendering Index is and why you should care
CRI measures how accurately a light source renders colors compared to natural sunlight. The scale runs from 0 to 100. A CRI of 100 is perfect. Most cheap LED bulbs hover around 70 to 80. That gap shows up in photos as shifted wall colors, odd-looking wood tones, and skin that looks slightly yellow or green.
For photography-focused spaces, CRI 95+ is recommended for optimal color accuracy, particularly in studios and art lighting environments. A CRI between 90 and 95 works well for residential kitchens and bathrooms. The practical takeaway is to replace any bulb in a frequently photographed room with a high-CRI alternative before the shoot.
The mixed color temperature problem
This is where many well-intentioned home photo setups go wrong. A room with a daylight window, a warm tungsten lamp, and a cool LED overhead strip has three competing color temperatures. The camera cannot correct all three at once. White balance applies globally, so fixing one zone means casting another with an odd hue.
Multiple competing color temperatures cause imbalances that are very difficult to fix in post-processing without masking every zone manually. The cleaner solution is to standardize. Pick one color temperature for all artificial sources in the room. If you are using warm-toned lamps at 2700K, pull the curtains or switch to flash to avoid mixing in 5500K daylight.
- Replace mixed-temperature bulbs with matching color temperature LEDs before shooting
- Turn off any light source you cannot match to your dominant temperature
- Use gels on flash units to match the ambient temperature in the room
- Check your white balance on a gray card, not by eye
Pro Tip: Set your camera to a fixed Kelvin white balance rather than Auto. Auto white balance shifts between frames, which creates inconsistency across a room’s photo set. A fixed value keeps all images color-matched and reduces editing time significantly.
Practical lighting setups by room
The 2 to 3 light sources per room rule of thumb exists because it reliably produces layered, non-flat images that read as inviting on screen. Here is how to apply it room by room.
-
Living room: Use an overhead light or chandelier as the base layer. Add a table lamp beside the sofa and a floor lamp in one corner. Turn on any picture lights above artwork. The result is a warm, multi-depth image with clear focal points.
-
Kitchen: Overhead and under-cabinet lighting working together is your goal. Kitchen lighting for maximum effect means illuminating countertops with task lighting while overhead pendants provide ambient fill. Avoid the blue-white cast of purely functional ceiling strips.
-
Bedroom: A layered bedroom lighting approach combines bedside lamps, overhead fixtures on a dimmer, and any accent light above a headboard or painting. The goal is warmth and dimension, not bright uniformity.
-
Bathroom: Turn on all vanity lights. Supplement with a portable LED panel bounced off the ceiling if the main fixture creates harsh downward shadows on the sink and countertop.
-
Hallway: Hallways photograph well with sconces at mid-level rather than a single overhead. Side-mounted light removes the tunnel effect and makes the space feel wider.
For how to use natural light in photos effectively, position your camera so windows appear to the side rather than dead-center in the frame. Side-lighting from windows adds texture and depth. When the window is directly behind your subject, you are fighting backlight instead of using it.
You can find more specific lighting setup strategies for layered home photography on the Vibemyflat blog, which covers each room type in detail.
Common mistakes that hurt your photos
Even experienced photographers repeat a handful of lighting errors that flatten rooms and reduce photo appeal.
- Overhead lighting only: Ceiling fixtures alone create harsh downward shadows under furniture and around faces, making rooms look smaller and less warm.
- Blown-out windows: This is the single most visible sign of poor lighting control. It signals an underexposed interior or a missed dynamic range solution.
- Mixed color temperatures without correction: Tungsten and daylight in the same frame create color casts that make walls look dirty and fabrics look wrong.
- Flat, shadowless images: When fill light is too aggressive and eliminates all shadow, rooms lose three-dimensionality. Some shadow is intentional. It tells the viewer where the light is coming from.
Pro Tip: Do not over-flash a room to avoid shadows. A little shadow in the right direction makes a space feel real and lived-in. The goal is not brightness. It is balance.
Lighting consistency across photo sets matters just as much as individual image quality. Buyers and viewers notice when light levels and color tones shift between rooms in the same listing.
My honest take after years of watching home photos fail
I’ve seen more home photo sets ruined by lighting decisions than by any camera limitation. What surprises most people is that the failure almost never comes from using the wrong equipment. It comes from treating light as a background condition rather than the subject of active control.
In my experience, intentional lighting control produces far more consistent results than “finding good light” and hoping for the best. The photographers who consistently deliver strong interior work are not the ones with the newest cameras. They are the ones who walk into a room and immediately start turning off lights, adjusting angles, and placing portable sources before the camera ever comes out.
What I’ve found is that homeowners often underestimate how much the lighting already in their homes shapes the story a photo tells. Lighting dramatically shapes mood and emotional perception. A room with warm, layered light at dusk reads completely differently than the same room at noon with flat overhead fluorescents. Shooting conditions are a creative decision. Treat them that way.
My advice: invest two hours learning the flambient workflow or the color temperature basics before investing in a new lens. The return on that learning is far higher.
— Hello
Upgrade your home photos with Vibemyflat
If you want the appeal of professionally lit home photos without the learning curve of studio setups, Vibemyflat is built for exactly that.

Vibemyflat uses AI to let you describe the lighting changes you want in plain language and deliver professional-quality results in under 30 seconds. Want warmer tones, better window exposure, or a balanced interior that actually matches how a room feels in person? You can get there without a photography degree. The platform works across desktop and mobile, and it is designed for real estate listing photos as well as personal home documentation. Whether you are a professional photographer looking to speed up your post-processing or a homeowner preparing a listing, Vibemyflat gives you lighting control that would otherwise take hours in traditional editing tools.
FAQ
What is the biggest lighting challenge in home photography?
The hardest problem is dynamic range: bright windows and dim interiors cannot be captured accurately in a single exposure. Techniques like flambient blending solve this by combining multiple frames.
Why does natural light alone often fail for home photos?
Natural light changes rapidly, creates uncontrollable shadows, and frequently blows out windows while underexposing interiors. Supplementing with controlled artificial sources produces far more consistent results.
What is flambient photography?
Flambient photography blends an ambient exposure for window mood, a flash exposure for interior brightness, and a window pull for exterior detail. The three frames are merged in post-processing to create a balanced, natural-looking final image.
How does CRI affect home photo quality?
CRI measures how accurately a light source renders colors. Bulbs with CRI below 80 shift wall colors and fabric tones in photos. Using CRI 90 or higher lighting significantly improves color accuracy without extra editing.
How many light sources should a room have for good photos?
Using at least 2 to 3 light sources at different heights per room creates the layered lighting that adds depth, reduces harsh shadows, and produces images that feel realistic and appealing.