What Is Design Concept Visualization? A Practical Guide
What Is Design Concept Visualization? A Practical Guide

TL;DR:
- Design concept visualization transforms abstract ideas into visual formats that facilitate understanding and refinement before physical work begins. It enhances collaboration by enabling early feedback, reducing costly mistakes, and supporting iterative decision-making through various tools, including AI-driven options. Proper use of rough visuals and AI accelerates exploration while empowering homeowners and designers to make confident, informed choices.
Most people assume that design concepts are inherently abstract. You have an idea, it lives in your head, and somehow it becomes a finished room. But that gap between idea and reality is exactly where design concept visualization does its work. Understanding what is design concept visualization means understanding how abstract creative thinking gets translated into something you can see, react to, and refine before a single piece of furniture is moved or a wall is painted.
Table of Contents
- Key takeaways
- What is design concept visualization?
- Common methods and tools for visualizing concepts
- How visualization improves collaboration and decision-making
- Practical steps to start visualizing your design concepts
- AI and the future of design concept visualization
- My perspective on where visualization goes wrong
- See your space before you change it with Vibemyflat
- FAQ
Key takeaways
| Point | Details |
|---|---|
| Visualization starts early | Design concept visualization happens at the beginning of a project to set direction and align everyone involved. |
| Multiple tools exist | From hand sketches to AI-generated renders, the method you choose should match your project’s stage and budget. |
| It reduces costly mistakes | Reviewing digital previews before execution prevents expensive on-site changes and material waste. |
| Rough visuals invite better feedback | Overly polished early renders can shut down client input. Sketch-style mockups keep conversation open. |
| AI is accelerating the process | AI-assisted workflows are saving designers over 10 hours per week on concept generation and iteration. |
What is design concept visualization?
Design concept visualization translates high-level abstract ideas into tangible visual formats such as sketches, 3D models, diagrams, and rendered images. It is not the finished design. It is the process of making an idea visible enough that everyone involved can understand, discuss, and improve it.
Think of it this way. A designer might have a strong creative direction for a living room: warm textures, layered lighting, earthy tones anchored by a central focal piece. That description sounds compelling. But without a visual, a homeowner might picture something completely different. Visualization closes that gap.
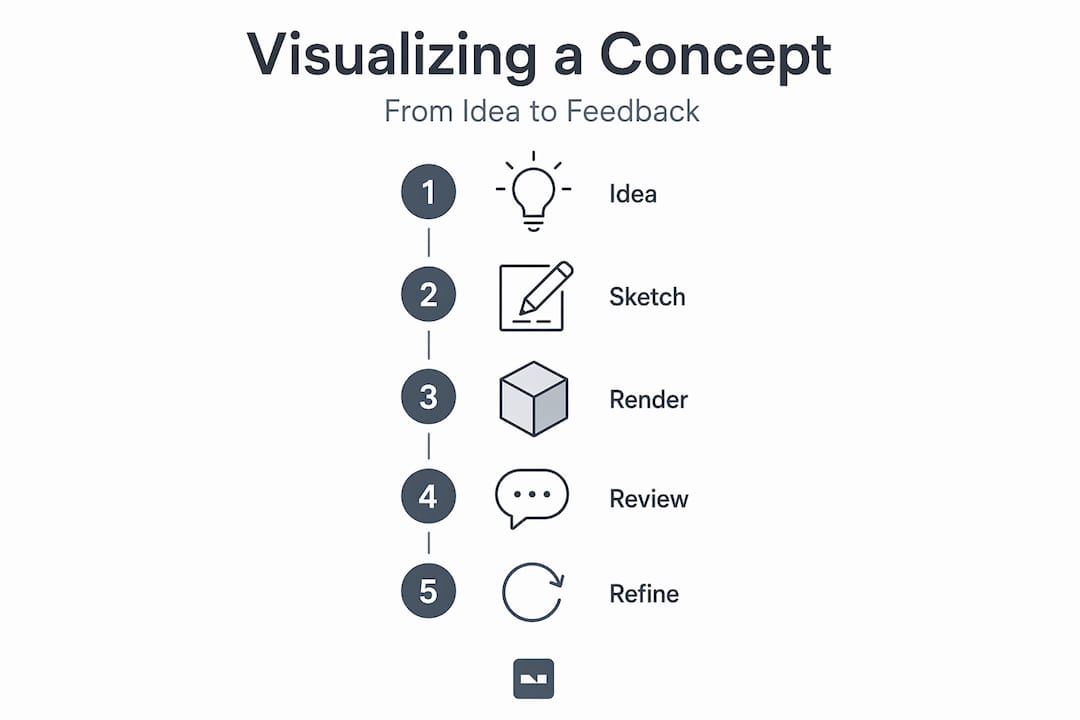
A design concept itself acts as a “north star” guiding all creative decisions and ensuring that every element in a project serves a unified purpose. Visualization is the mechanism that makes that north star visible to everyone, not just the designer holding it in their mind.
Here is what the process typically involves at its core:
- Translating the brief into visuals: Taking written or verbal goals and expressing them as images, whether rough or polished
- Establishing a shared direction early: Locking in the general feel and priorities of a project before committing to purchases or construction
- Creating a reference point: Giving the entire project team a single visual touchstone to return to when decisions get complicated
Pro Tip: The definition of design visualization is not limited to architects or interior designers. Homeowners planning a renovation benefit just as much from the clarity that early visualization provides.
Visualization serves as a shared language, especially in architecture and interior design, transforming abstract ideas into communicable visuals that clients and collaborators can actually respond to.
Common methods and tools for visualizing concepts
Choosing the right visualization method depends on where you are in your project, your budget, and who needs to understand the result. No single tool works for every situation.
Traditional techniques
Hand sketches are still one of the most powerful tools in any designer’s kit. They are fast, flexible, and signal to clients that nothing is set in stone. Mood boards collect images, fabric swatches, color palettes, and material samples into a single reference sheet that communicates tone and direction without a full render. Physical scale models, more common in architectural work, give spatial clarity that flat images sometimes miss.
Digital and AI tools
| Method | Best for | Limitation |
|---|---|---|
| 3D modeling software | Detailed spatial planning, professional projects | Steep learning curve, time-intensive |
| Photo editing and AI renders | Quick visual mockups, homeowner presentations | Less precise for structural changes |
| Mood board apps | Gathering and sharing inspiration | Cannot show spatial relationships |
| Hand sketches | Early-stage brainstorming, iterative feedback | Requires drawing skill to communicate well |
| Architectural visualization | Client presentations, project approvals | Can feel overly final at early stages |
Architectural visualization makes technical plans significantly more comprehensible to non-experts by placing them in realistic spatial contexts, which leads to faster approvals and stronger client confidence. That is a meaningful advantage when you need a homeowner to commit to a direction before ordering custom materials.
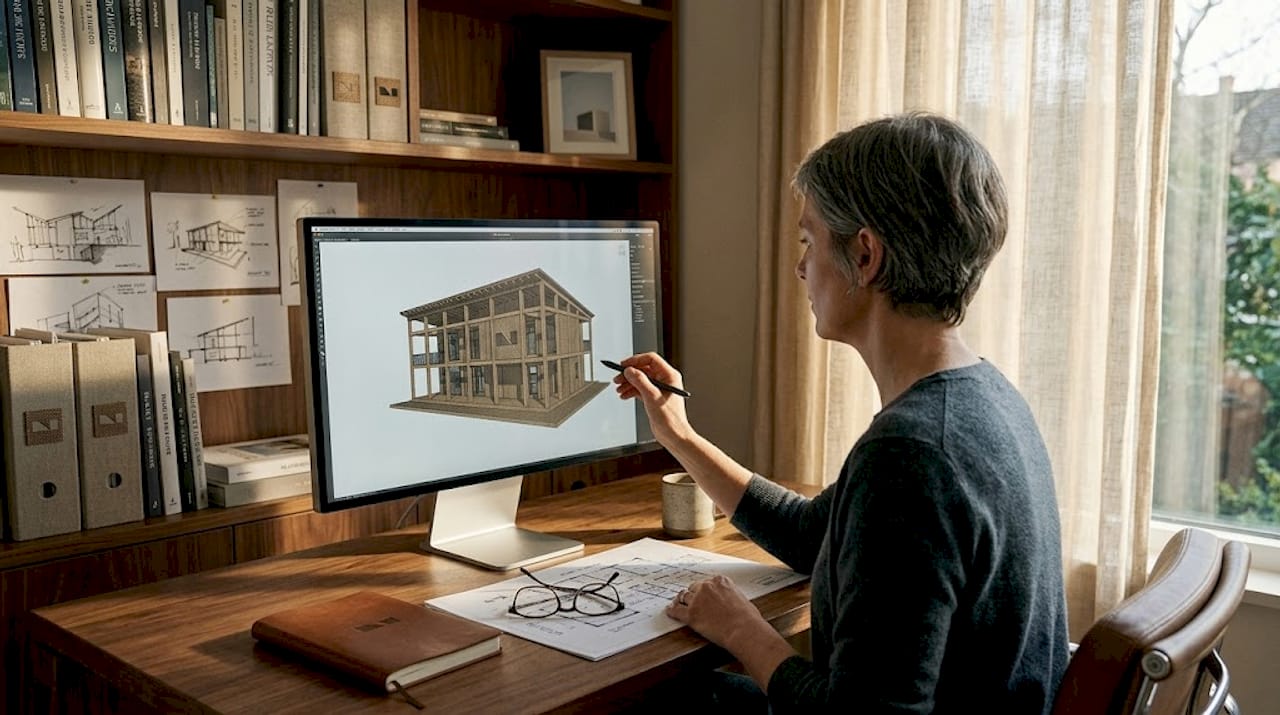
Pro Tip: When you are early in the process, resist the urge to generate a photorealistic render immediately. A rough, sketch-like output communicates that you are still in exploration mode and invites more honest feedback from clients.
How visualization improves collaboration and decision-making
This is where design concept visualization earns its real value. It is not just a pretty picture. It is a communication tool that fundamentally changes how designers and homeowners work together.
When a homeowner can see a version of their space before anything is purchased or built, the conversation shifts. Instead of trying to explain preferences in abstract terms (“I want it to feel cozy but modern”), they can point directly at what they like or dislike. That specificity saves time, reduces conflict, and almost always produces a better outcome.
Here is how the collaborative process typically unfolds in a well-run visualization workflow:
- Initial concept share: Designer presents rough visuals based on the brief. Homeowner reacts honestly because nothing looks final.
- Feedback round: Client identifies what resonates and what does not. Specific visual elements replace vague adjectives.
- Refinement cycle: Designer adjusts the visualization to reflect feedback. This can happen two or three times before moving forward.
- Pre-execution review: A near-final visualization is reviewed by all parties to confirm material choices, layout, and overall feel.
- Implementation with confidence: Because every major decision was tested visually first, the physical execution carries far fewer surprises.
Visualization reduces waste by enabling clients to review digital previews of materials and layouts before anything is ordered or installed. Digital models function as decision-support tools rather than marketing assets, which is an important distinction. You are not presenting visualization to impress. You are presenting it to decide.
The iterative use of visualization tools creates continuous feedback loops that improve both design quality and client satisfaction throughout the project lifecycle.
Practical steps to start visualizing your design concepts
Whether you are a homeowner starting a living room renovation or a designer onboarding a new client, the process of bringing design concept ideas to life follows a reliable sequence. Here is how to approach it practically.
-
Start with inspiration gathering. Pull images from magazines, Pinterest boards, or saved social media posts. You are looking for patterns in what consistently attracts you: recurring colors, textures, furniture silhouettes, lighting moods. This raw material forms the backbone of your mood board.
-
Build a mood board before anything else. A mood board does not need to be digital or professional. A collection of printed images pinned to a board works. The goal is to externalize your taste so others can see it and respond to it.
-
Use photo editing tools for quick spatial mockups. For homeowners especially, tools that let you visualize design ideas by modifying real photos of your space are faster and more accessible than 3D modeling software. Upload a photo of your room, change the wall color, swap the flooring, add a different light fixture. You get a practical preview in minutes.
-
Invite honest feedback early. Share your rough visuals with people who will actually use the space. Ask specific questions: Does this feel too dark? Does the furniture scale look right? Vague questions get vague answers.
-
Iterate before committing. The point of early-stage visualization is to test ideas cheaply. Run several versions of the same space with different color schemes or layouts. The one that survives multiple rounds of honest review is usually the one worth building.
Connecting user needs, business goals, and technical feasibility into one coherent visual vision is exactly what good concept visualization does, whether you are designing a product or a kitchen.
AI and the future of design concept visualization
The biggest shift in how to visualize design concepts right now is the speed at which AI tools are making it possible. What once required a professional renderer and several days of work can now happen in under a minute.
86% of AI users in architectural visualization report significant time savings, with many saving more than 10 hours per week on concept generation and iteration alone. That number reflects a genuine change in workflow, not just a marginal efficiency gain.
For homeowners and designers, AI visualization tools open up several specific advantages:
- Faster exploration of multiple directions: Generate five different versions of a room concept in the time it used to take to sketch one rough draft
- Lower barrier to entry: You no longer need formal design training to create a credible visual mockup of a space
- Real photo modification: Upload an actual photo of your room and describe changes in plain language. The AI applies them instantly.
- Reduced client hesitation: When a client can see three different flooring options rendered into their actual space, the decision-making process becomes much faster
The important caveat is that AI tools help fast-track concept exploration while preserving the designer’s role in critical thinking. Speed and quantity of options are not substitutes for judgment. AI generates the visual. The designer and homeowner still need to decide which direction actually serves the brief.
Pro Tip: Use AI visualization to generate options, not conclusions. Treat each AI-generated image as a starting point for a conversation rather than a finished direction.
For a deeper look at how these tools work in practice, the AI-powered design guide from Vibemyflat covers adoption and real-world application specifically for home projects.
My perspective on where visualization goes wrong
I’ve seen dozens of design projects where visualization was treated as the finale rather than the process. A designer spends weeks building a stunning, photo-realistic render of a space, presents it to the client, and the client loves it so much they are afraid to ask for changes. That is a failure mode, not a success.
Over-polished visualizations early in the design process actually suppress honest client feedback. When something looks finished, people hesitate to question it. Skilled designers intentionally use rough or sketch-like outputs at the start precisely to signal that nothing is locked in.
What I’ve found genuinely useful is flipping the expectation entirely. The first visual you share should look unfinished. Not sloppy, just clearly exploratory. It tells the client: this is thinking, not presenting. That shift in tone changes everything about how people respond.
The other thing I’ve learned is that visualization democratizes the design process in a way that nothing else does. A homeowner who cannot read a floor plan or interpret a technical drawing can look at a rendered image of their own living room and immediately know whether it feels right. That accessibility is not a luxury. It is the whole point. When visualization is done right, it hands decision-making power back to the person who will actually live in the space.
— Hello
See your space before you change it with Vibemyflat
If you are trying to put design concept visualization into practice without a professional software subscription or design degree, Vibemyflat was built exactly for that situation.
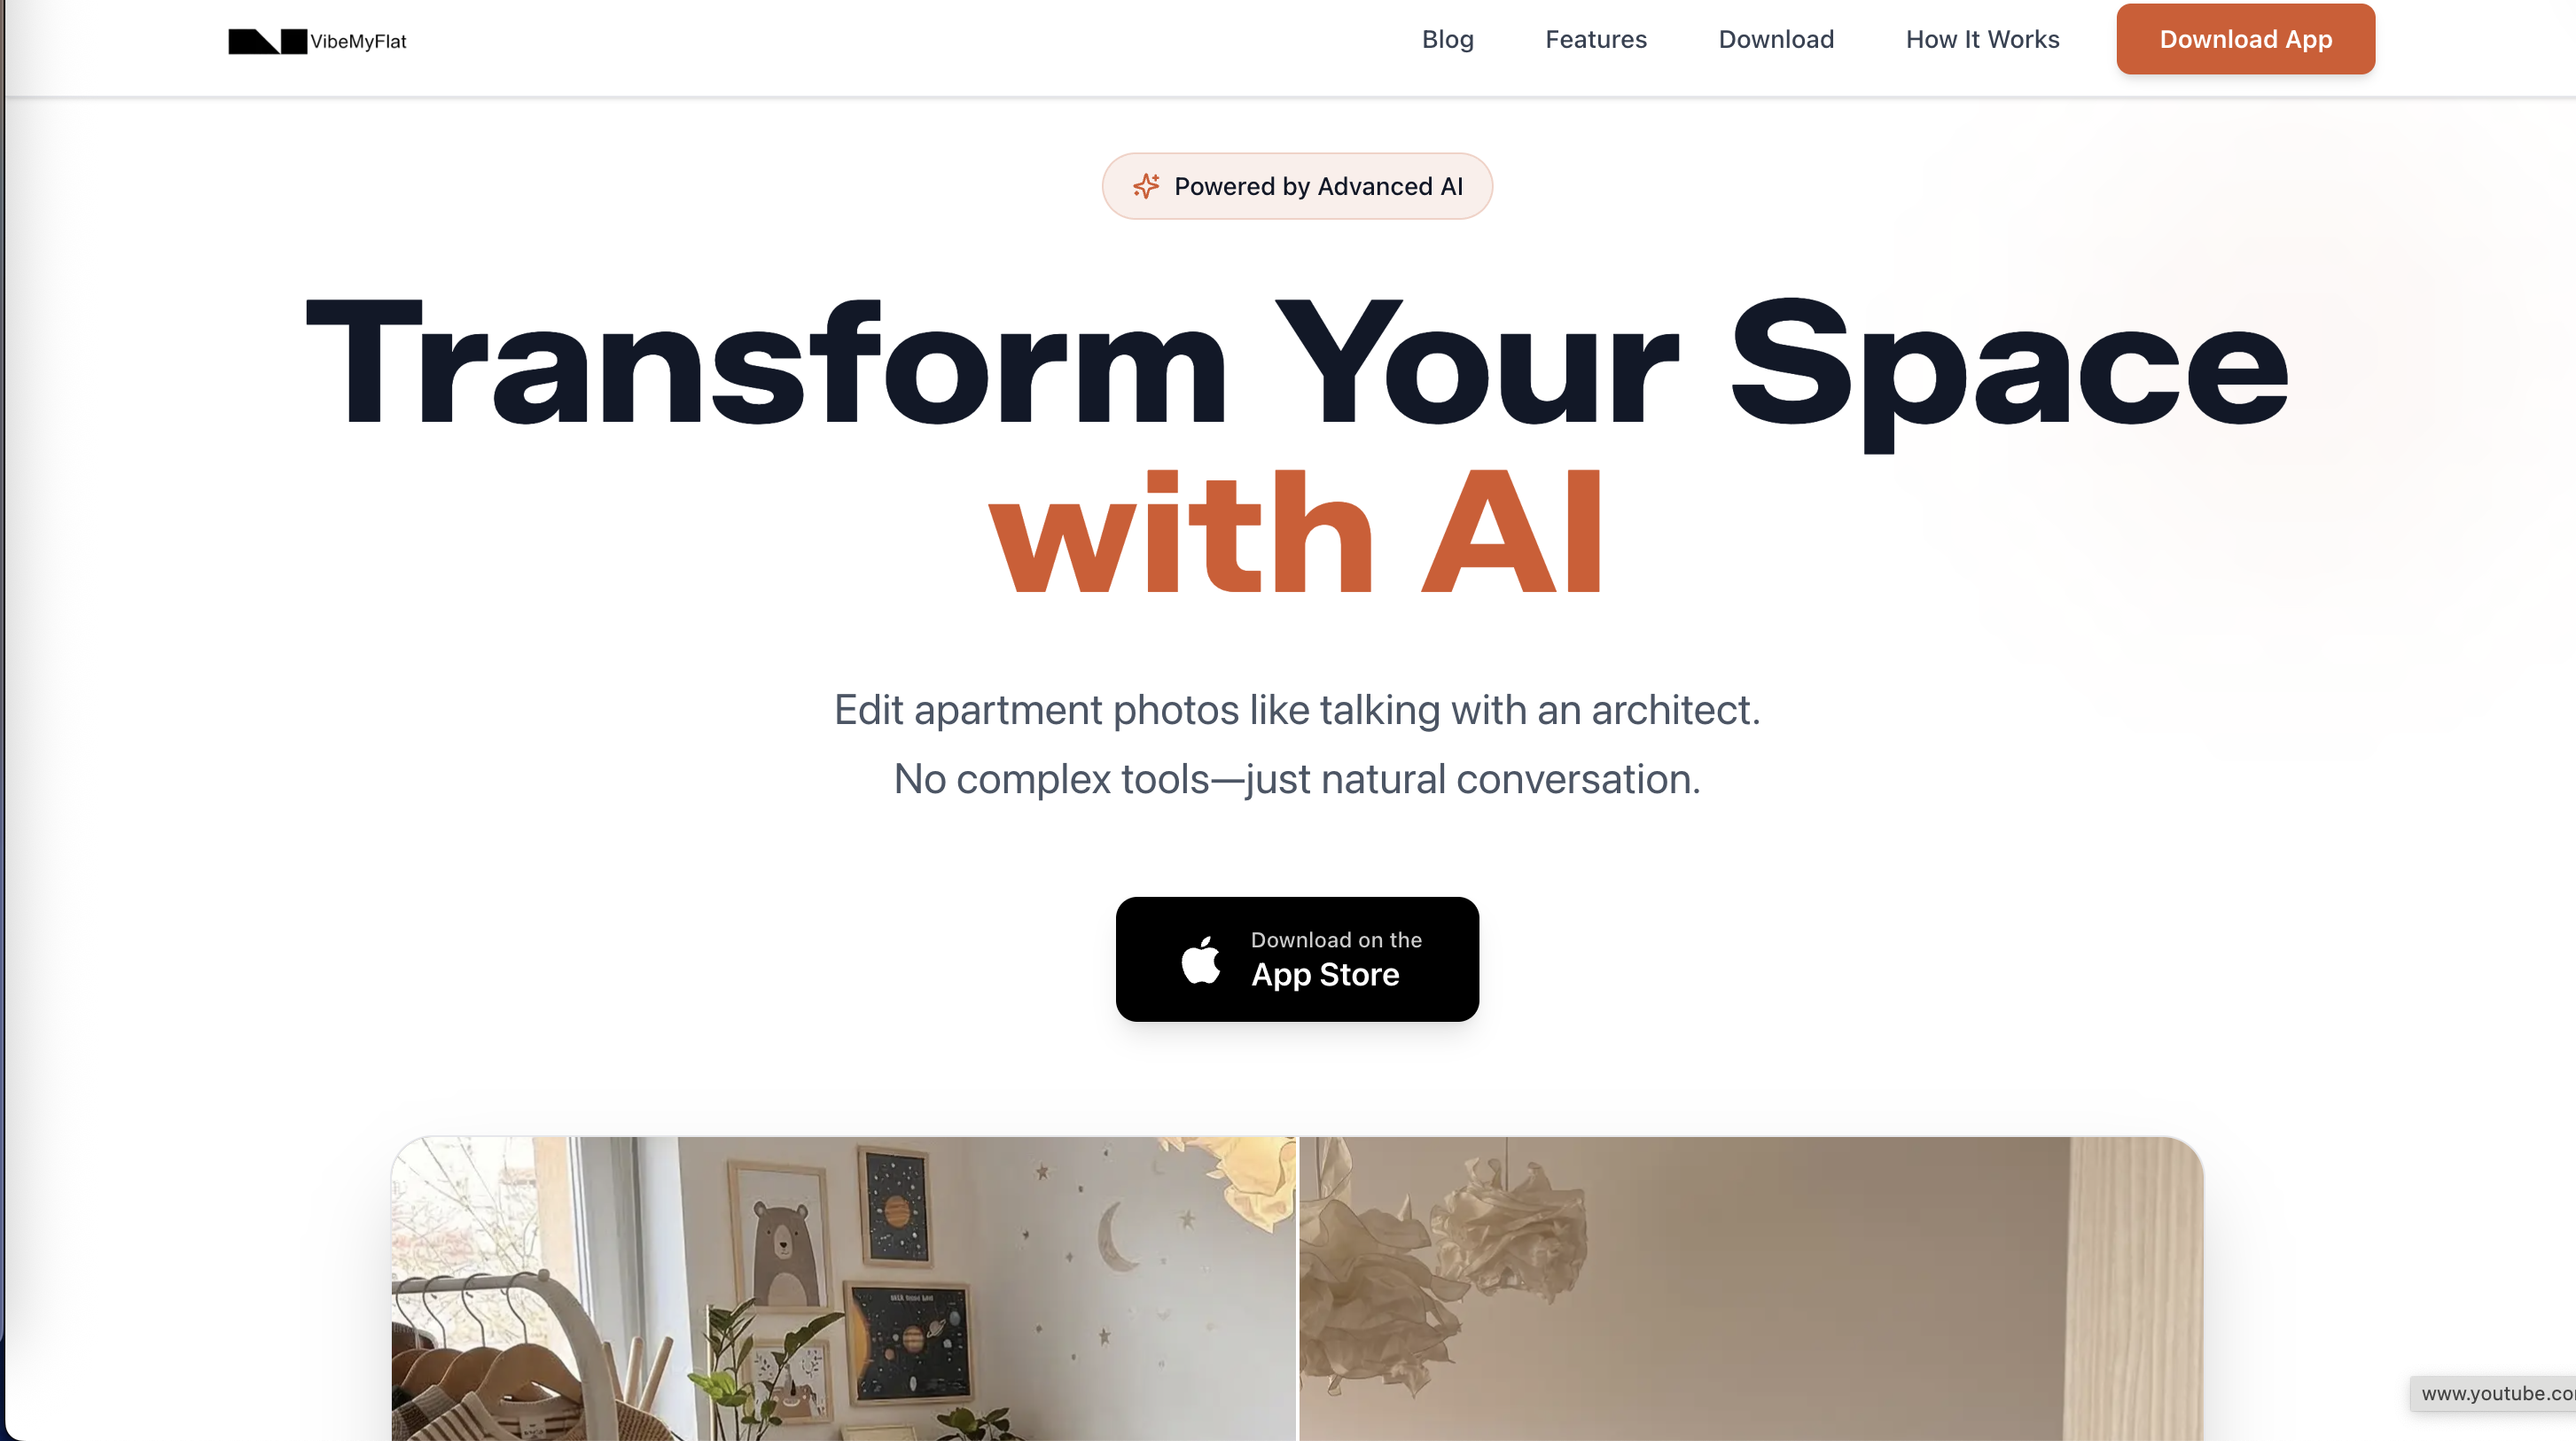
Vibemyflat lets you upload a photo of any room and describe the changes you want in plain language. Want to see how dark green walls would look with your existing furniture? Done in under 30 seconds. Trying to decide between two flooring options before ordering samples? Generate both versions and compare them side by side. The platform handles the technical rendering so you can focus entirely on whether the design actually feels right.
Explore how Vibemyflat’s visualization tools can help you move from concept to confident decision, faster than any other method available to homeowners and designers today.
FAQ
What is design concept visualization in simple terms?
Design concept visualization is the process of turning abstract design ideas into visible formats like sketches, renders, or digital mockups so that everyone involved in a project can understand and respond to them. It happens before any physical work begins.
Why is visualization important in interior design?
Visualization aligns expectations between designers and homeowners before materials are purchased or walls are changed. It prevents costly on-site changes by letting everyone review and approve decisions digitally first.
What tools can homeowners use to visualize design concepts?
Homeowners can start with mood boards and inspiration collections, then move to AI-powered photo editing tools that modify real images of their space. These require no design training and produce results in minutes. You can find a full breakdown in this interior visualization guide.
How early in a project should visualization start?
Visualization should start at day one, used as an iterative feedback tool throughout the design process rather than a final presentation piece. Early, rough visuals generate better client feedback than polished renders delivered at the end.
Can AI replace a designer in concept visualization?
No. AI tools accelerate early-stage concept exploration and generate options quickly, but they do not replace the judgment required to select the right direction for a specific client, space, and brief. AI is a thinking tool, not a decision-maker.