What Is Design Visualization Software? A Clear Guide
What Is Design Visualization Software? A Clear Guide

TL;DR:
- Design visualization software encompasses the entire workflow from modeling to presentation, serving as a communication system rather than just an image generator. It enables professionals and homeowners to create, manipulate, and preview realistic 3D representations that inform decisions and prevent costly errors. AI tools are increasingly streamlining the process, especially for non-professionals, offering fast, quality visuals directly from simple descriptions.
Most people assume design visualization software is a fancy rendering tool you use at the end of a project to produce a pretty picture. That misunderstanding causes real problems. Design visualization is actually a full pipeline: modeling, texturing, lighting, rendering, and presentation. Understanding what is design visualization software means recognizing it as a communication system, not just an image generator. Whether you are a real estate agent preparing a listing, an interior designer pitching a concept, or a homeowner planning a renovation, the right software changes how decisions get made, and how fast.
Table of Contents
- Key takeaways
- What design visualization software really is
- Key features and types of design visualization software
- Popular design visualization software and ideal use cases
- How to use design visualization for real projects
- My perspective on where design visualization is heading
- See how Vibemyflat handles visualization for you
- FAQ
Key takeaways
| Point | Details |
|---|---|
| More than just rendering | Design visualization covers the full workflow from 3D modeling to final presentation output. |
| Two rendering modes matter | Real-time rendering speeds up iteration; photorealistic rendering wins client approvals and marketing. |
| AI tools save serious time | 86% of users report measurable productivity gains exceeding 10 hours per week with AI-assisted visualization. |
| Tool choice depends on your goal | Architects favor BIM tools like Revit; homeowners and agents get faster results from AI-powered apps. |
| Visualization prevents costly errors | Spotting design conflicts in 3D before construction or renovation saves money and rework. |
What design visualization software really is
At its core, design visualization software lets you create, manipulate, and display 3D representations of spaces or objects, complete with accurate textures, lighting, and material behaviors. According to Autodesk, rendering is actually the final stage within a broader workflow that combines 3D models, 2D graphics, and supporting content into a finished form. The software handles the entire chain, not just the last step.
What is digital design visualization in practice? Think of it as a translation layer between an idea in someone’s head and a decision-ready visual that another person can evaluate, approve, or reject. Architects use it to show clients what a finished building looks like before a single brick is placed. Interior designers use it to test color palettes and furniture arrangements without moving anything physical. Homeowners use it to preview a kitchen remodel before committing to cabinets.
The typical workflow moves through these stages:
- Modeling: Building the 3D geometry of a space or object, often using CAD or BIM files as a starting point
- Texturing: Applying surface materials like wood grain, tile, fabric, or paint to the model geometry
- Lighting: Setting up natural and artificial light sources to simulate realistic conditions at different times of day
- Rendering: Processing the scene into a final image or animation using either real-time or photorealistic calculations
- Post-production: Optional color correction, compositing, or enhancement before the visual is presented
Modern design visualization tools run across web browsers, desktop software, mobile apps, and VR/AR headsets. That range of delivery formats matters because a walkthrough experienced in VR communicates scale in a way a flat image simply cannot.
Pro Tip: If you are new to visualization software, start by separating your modeling phase from your rendering phase. Treat them as two distinct tasks, not one continuous process. This separation makes iteration much faster because you can adjust lighting or materials without rebuilding geometry.
Key features and types of design visualization software
Not all design visualization tools are built the same way. Understanding the major categories helps you pick the right tool for your project rather than the most popular one.
Core features to look for
Every serious design visualization tool should offer geometry modeling or import capabilities, a material and texture library, adjustable lighting controls, and at least one rendering mode. Beyond those basics, the gap between tools widens quickly.
Rendering modes are where the most meaningful differences appear. Rhino uses a Rendered mode for fast previews and a Raytraced mode for physically accurate light calculations that take significantly longer to process. That tradeoff between speed and accuracy shows up across nearly every platform in the market.
The four main categories
| Category | Best for | Speed vs. quality tradeoff |
|---|---|---|
| Standalone renderers | Final marketing images and presentations | Slower, highest quality output |
| CAD/BIM integrated tools | Architecture and construction documentation | Moderate speed, high accuracy |
| Real-time visualization tools | Design review, client walkthroughs | Very fast, good quality |
| AI-assisted software | Early-stage ideation, photo enhancement | Near-instant, sufficient quality |
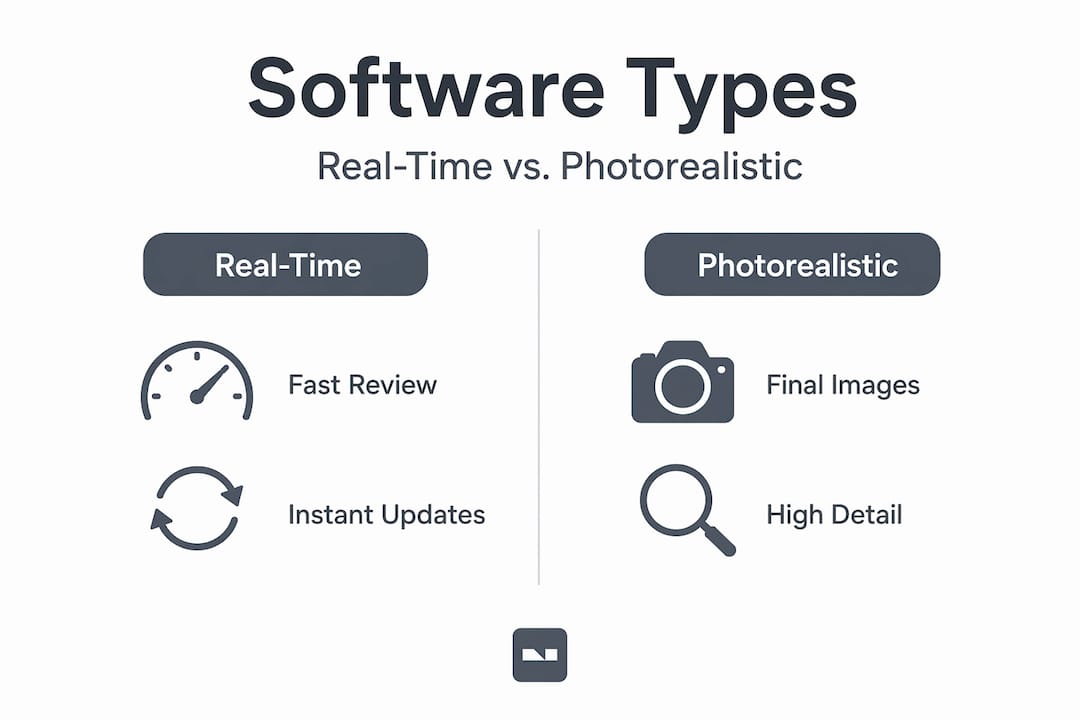
Real-time visualization shortens design review cycles dramatically, while high-quality photorealistic output increases client engagement and approval rates. These two modes serve different moments in a project. Real-time rendering is your working mode. Photorealistic rendering is your presentation mode.
AI-assisted tools represent the fastest-growing category. A 2026 Architizer report found that 74% of professionals plan to increase their AI tool usage for design workflows over the next year. For homeowners and agents, this category is particularly accessible because it requires no modeling skills at all.
Pro Tip: Do not pick your rendering software based on output quality alone. Consider how many times per week you need to produce visuals. If the answer is daily, real-time tools will save you more time than a photorealistic renderer that takes 45 minutes per frame.
Popular design visualization software and ideal use cases
Knowing the categories is one thing. Seeing how specific tools map to specific needs gives you a much clearer picture of where to start.
Tools built for professionals
Autodesk Revit anchors the architecture and construction industry. Its strength is BIM, meaning the 3D model carries data about materials, dimensions, and systems. Visualization is connected directly to the building data, so changes propagate automatically. Revit is the right tool when coordination across structural, mechanical, and interior teams is a priority.
Autodesk 3ds Max targets visualization specialists and game artists who need maximum control over lighting, materials, and camera work. It produces extremely high-fidelity images, but the learning curve is steep and the software expects you to know what you are doing. It is not a starting point for most property professionals.
Lumion is different. Its entire pitch is speed. Lumion offers real-time rendering during the design phase, which means you can run quick massing tests and lighting experiments without waiting for a render queue to finish. Architects use it to generate 4K presentation renders rapidly and to show clients context-aware visuals of a building within its surrounding landscape.
Rhino 3D excels in product visualization and complex geometry. Interior designers working on custom furniture or fabricated elements favor it because it handles freeform surfaces cleanly. It pairs well with dedicated rendering plugins that extend its output quality.
Blender is free, open-source, and surprisingly powerful. It covers modeling, animation, and rendering in one package. The learning investment is real, but for designers who want professional-grade output without licensing costs, it has become a serious option over the past few years.
Tools built for homeowners and agents
The tools above all assume a meaningful level of technical training. For homeowners planning a renovation or real estate agents wanting to enhance listing photos, AI-powered platforms are a much more practical fit. You can find a detailed breakdown in this homeowner’s guide to AI visualization if you want to go deeper on that category specifically.
The key selection factors regardless of your level are: how easily the tool fits into your existing workflow, what output formats it supports, and whether the quality meets your specific audience’s expectations.
How to use design visualization for real projects
Understanding design visualization techniques in theory is different from applying them under deadline pressure. Here is a practical sequence that works across property presentations, interior design projects, and renovation planning.
-
Define the decision the visual needs to support. A visual meant to get construction started needs different fidelity than one meant to help a client choose between two paint colors. Start with the question the visual will answer.
-
Build or import your base geometry. For professionals, this usually means importing a CAD or BIM file. For homeowners, it means taking quality photos of the existing space from consistent angles that the software can work with.
-
Set materials before lighting. Material choices affect how light behaves. Professionals set materials first, then lighting, then render. Skipping that order produces misleading results.
-
Run a real-time preview before committing to a full render. This is where you catch proportion problems, lighting issues, and awkward material combinations. Fix them here, not after a 30-minute render.
-
Generate the final output at the resolution and format your audience needs. A client presentation needs print-ready quality. A social media post does not. Match your render settings to the destination.
-
Use the visual to drive the conversation, not close it. Visualization improves client communication by making design intent legible. Use it to invite feedback, not to end discussion.
The benefits of AI-driven design tools are especially visible in steps two and three, where AI can generate plausible material combinations and lighting setups in seconds based on a text description.
Pro Tip: Always save your scene file after the modeling stage and again after the texturing stage as separate versions. If a client requests a major revision, you can roll back to the exact right point without starting over.
My perspective on where design visualization is heading
I have watched the shift from flat 2D floor plans to fully immersive 3D walkthroughs happen over the past decade, and the change is not just visual. It is cognitive. Clients make faster, more confident decisions when they can see a space rather than read a plan. That shift in decision-making speed has real business value for designers, agents, and property managers.
What I find most interesting now is the AI layer. The productivity gains are not marginal. When 74% of professionals are planning to expand their AI tool usage in the coming year, that signals a structural change in how visualization work gets done, not a trend.
The pitfall I see most often is tool mismatch. Someone invests weeks learning a professional renderer when they only need convincing property photos. Or a homeowner tries to use architectural software to plan a bathroom remodel and gives up in frustration. The best design visualization software is the one that fits your actual use case, not the one with the longest feature list.
My honest take: if you are not a full-time design professional, lean toward AI-assisted tools. You will spend less time on software and more time on the actual design decisions that matter.
— Hello
See how Vibemyflat handles visualization for you
Ready to put these ideas into practice without spending weeks learning complex software? Vibemyflat brings AI-powered design visualization directly to your property photos.
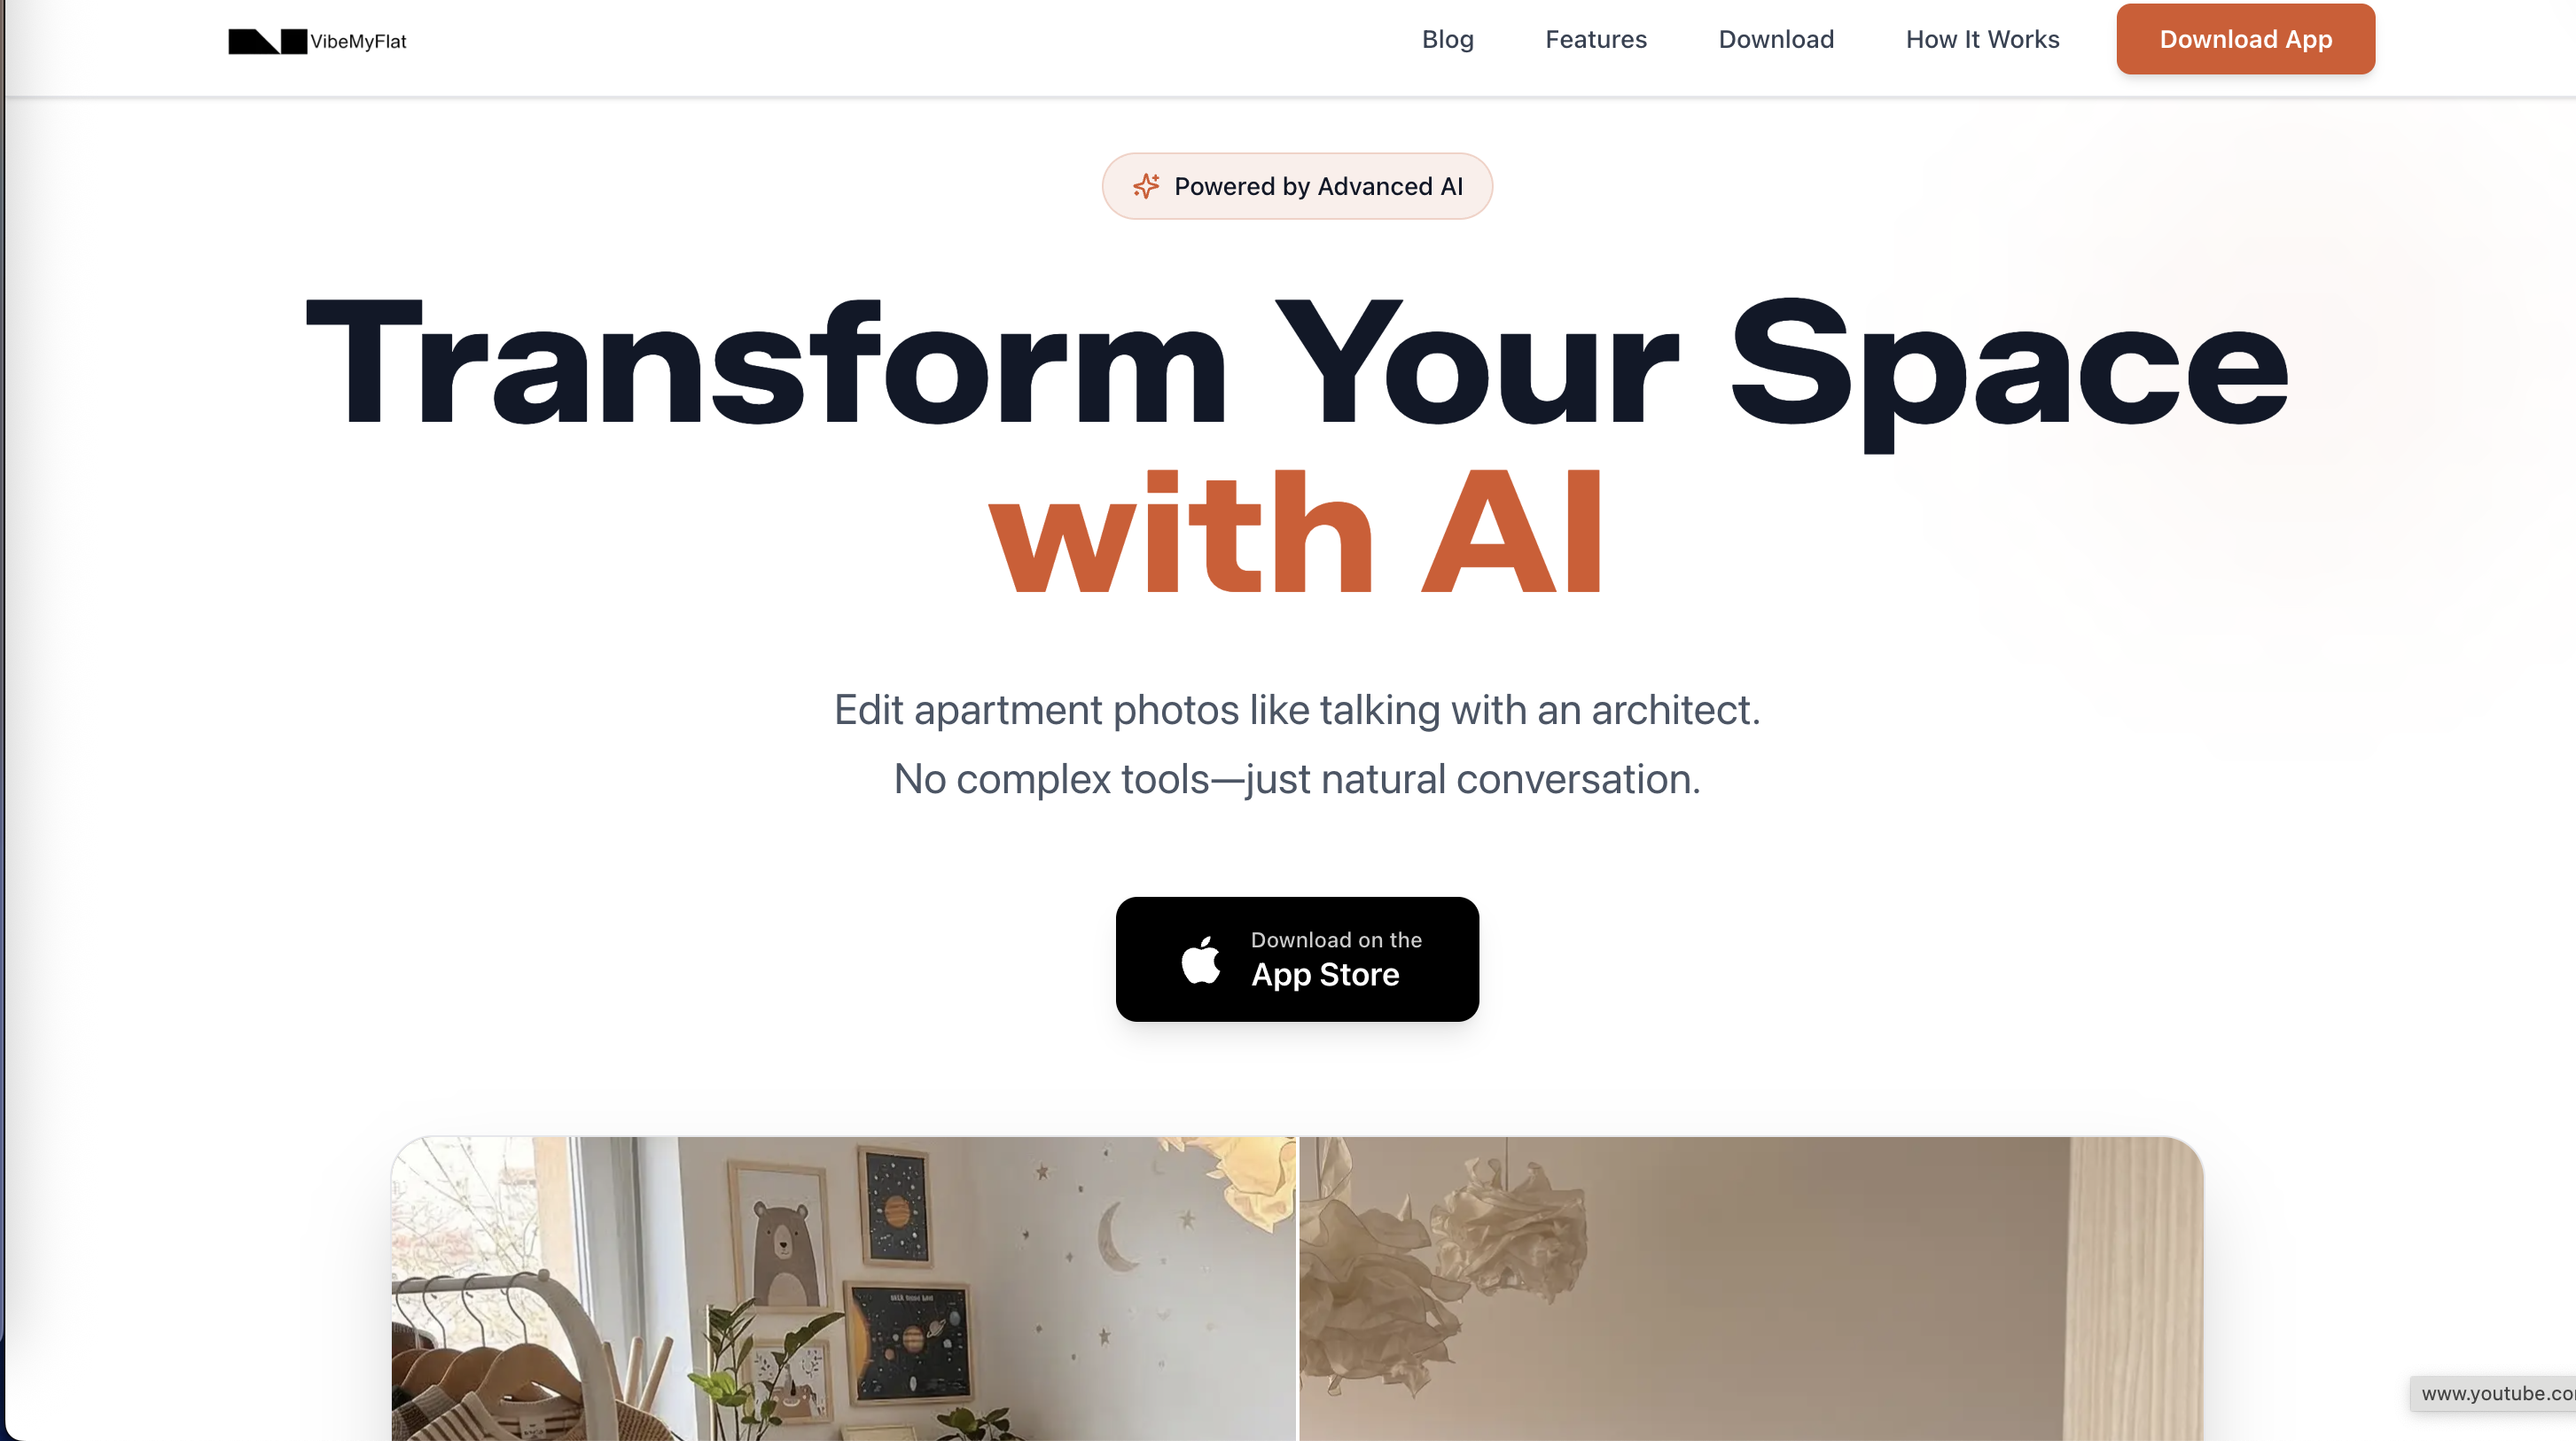
You describe what you want in plain language, such as changing the wall color, updating the lighting, or swapping out the flooring, and Vibemyflat produces a professional-quality result in under 30 seconds. It works for real estate agents improving listing photos, interior designers presenting concepts to clients, and homeowners previewing renovation ideas before committing to a single purchase. Explore everything Vibemyflat can do at vibemyflat.com and see how fast visualization can actually be when the software does the technical work for you.
FAQ
What is design visualization software used for?
Design visualization software is used to create realistic 3D representations of spaces, products, or buildings before they are built or modified. Applications include property marketing, interior design presentations, renovation planning, and construction coordination.
What is the difference between rendering and visualization?
Visualization covers the full workflow including modeling, texturing, and lighting, while rendering is the final processing stage that converts a 3D scene into a finished image or animation.
What are the best design visualization software options for non-professionals?
AI-assisted tools are the most accessible option for homeowners and real estate agents because they require no 3D modeling skills. Platforms like Vibemyflat let you describe changes in natural language and receive professional-quality visuals in seconds.
How does real-time visualization differ from photorealistic rendering?
Real-time visualization updates instantly as you make changes, making it ideal for design review and iteration. Photorealistic rendering takes longer to process but produces higher-quality output suited for marketing materials and client approvals.
Can design visualization software help prevent renovation mistakes?
Yes. Immersive walkthroughs and real-time changes help designers and homeowners spot proportion issues, material clashes, and lighting problems before any physical work begins, reducing costly changes mid-project.