What Is Lighting Optimization in Photos: Full Guide
What Is Lighting Optimization in Photos: Full Guide
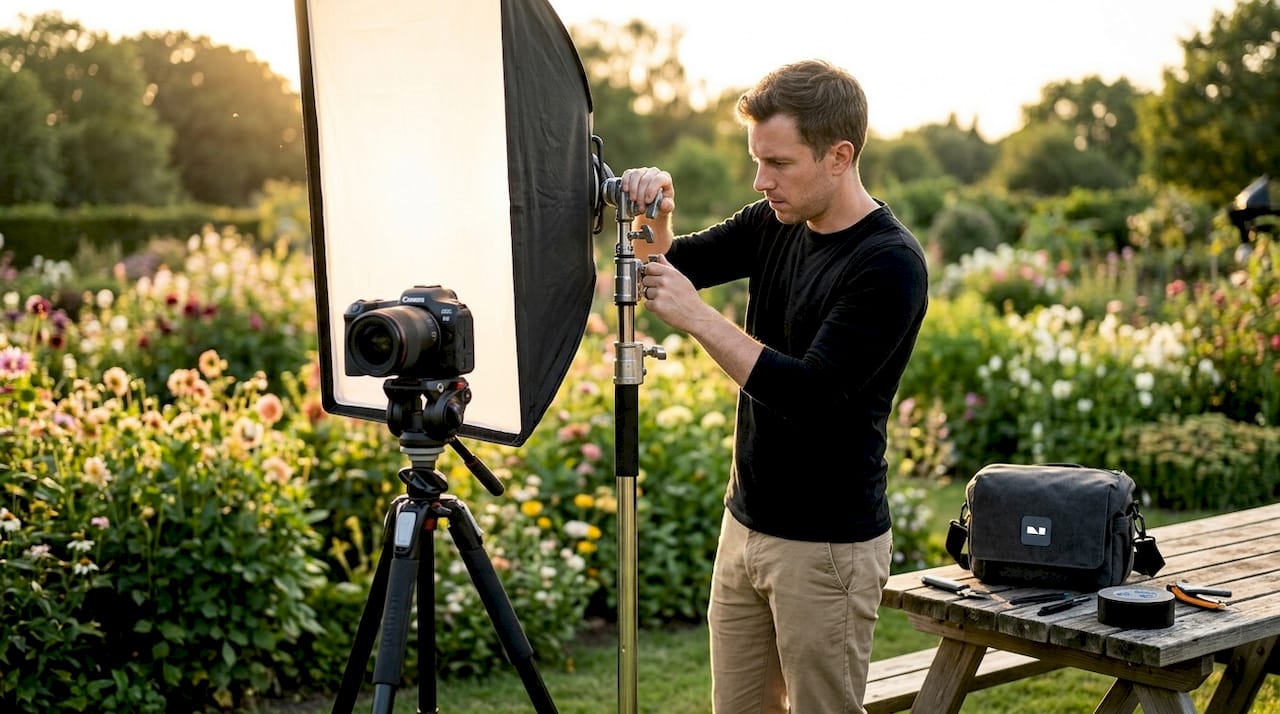
TL;DR:
- Lighting optimization involves intentionally controlling light placement, quality, and intensity to enhance a photograph’s tone, clarity, and mood. It relies on understanding how light behavior, sources, and angles affect softness, contrast, and depth, rather than solely depending on in-camera auto features. Effective mastery of lighting requires physical adjustments during shooting, complemented by post-production refinements to achieve natural and visually compelling images.
Lighting optimization in photos is not a button your camera presses for you. It is a deliberate, layered practice of controlling light quality, direction, and intensity to shape everything from mood to fine detail in your images. Most photographers assume their camera’s auto settings handle this. They don’t, not fully. Understanding what is lighting optimization in photos means learning how light behaves, how to shape it before you shoot, and how to refine it after. This guide covers all three: in-camera tools, manual lighting control, and post-production techniques that actually move the needle.
Table of Contents
- Key Takeaways
- What is lighting optimization in photos
- How in-camera auto lighting optimizer works
- Manual lighting techniques for better photos
- Post-production lighting optimization
- Common mistakes when optimizing photo lighting
- My honest take on lighting optimization
- See your interior photos transformed with Vibemyflat
- FAQ
Key Takeaways
| Point | Details |
|---|---|
| Lighting optimization is intentional | Controlling light source size, position, and quality shapes tone, contrast, and mood more than any camera auto setting. |
| In-camera tools have real limits | Auto Lighting Optimizer helps JPEG shooters in high-contrast scenes but cannot replace manual lighting knowledge. |
| Light source size drives softness | Moving a light closer or using a larger modifier creates softer shadows; distance and size matter more than diffusion material. |
| Post-production refines, not rescues | Dodging and burning with targeted tonal range controls lets you finesse lighting balance without destroying natural color. |
| Contrast should be set at capture | Adjusting your lighting setup before you shoot gives you more flexibility than trying to fix contrast in editing alone. |
What is lighting optimization in photos
Lighting optimization means deliberately controlling light source positioning and quality to enhance a photo’s tone, clarity, and saturation. It covers every decision you make about light, from where you place your flash to how you process shadows in post-production.
At its core, the practice breaks into three variables: the quality of light (soft or hard), the quantity of light (exposure level), and the direction of light (where shadows fall and how depth is created). Each variable affects your image independently, which is why optimizing lighting is never a single fix.
Here is what those three dimensions look like in practice:
- Quality: Soft light wraps around a subject and produces gentle shadow transitions. Hard light creates sharp, defined shadows and strong contrast. Quality depends almost entirely on the apparent size of your light source relative to your subject.
- Quantity: Exposure balance determines whether your highlights retain detail or blow out, and whether your shadows hold texture or go black. This is what most people think of when they hear “photo light adjustment.”
- Direction: Side lighting sculpts form and reveals texture. Front lighting flattens a subject. Backlighting creates silhouettes or rim separation. Each angle tells a different story.
Understanding the importance of lighting in photos starts here. Every other technique, whether in-camera, manual, or post-production, is built on these three pillars.
How in-camera auto lighting optimizer works
Canon’s Auto Lighting Optimizer (ALO) analyzes an image after capture and selectively adjusts shadows and highlights to reduce detail loss in high-contrast conditions. It does not change how light hits your subject. It processes the recorded data and applies tonal corrections before saving the file.
ALO strength ranges from subtle to strong, and the effect varies depending on the scene. Shoot a backlit portrait on a bright afternoon and ALO may recover shadow detail in the face that would otherwise look like a silhouette. Shoot a studio portrait with controlled lighting and the effect may be nearly invisible.
Several key points shape when this feature helps and when it does not:
- ALO works best for JPEG shooters who need balanced exposures straight out of camera without extensive editing.
- RAW shooters prefer manual control because they can make these tonal corrections themselves in post with more precision.
- Other manufacturers offer similar tools. Nikon calls its version Active D-Lighting. Sony uses Dynamic Range Optimization. The principle is the same across brands.
- In scenes with extreme contrast, ALO can introduce noise in lifted shadow areas, which is a tradeoff worth knowing before you rely on it.
Pro Tip: If you shoot RAW, turn ALO off. It will only preview differently in your camera’s LCD and create confusion between what you see in-camera and what you actually have in the file.
The broader takeaway is that in-camera optimization features are useful tools with real limitations. They help you get closer to a balanced exposure automatically. They do not replace understanding how to set up your lighting intentionally.
Manual lighting techniques for better photos
This is where lighting optimization gets genuinely powerful. Once you understand how to control light physically, you stop fighting your camera and start directing your images. The foundation is a four-light mental model: key light, fill light, rim or accent light, and background light.

Your key light is the dominant source that defines the main illumination and shadows. Your fill light reduces the contrast created by the key light. The rim light separates the subject from the background by wrapping around the edges. The background light is independent and controls the tone of your backdrop.
Understanding soft and hard light
Light source size relative to subject is the single most important factor in soft versus hard light. A large softbox close to your subject produces soft, wrapping light with gradual shadow edges. Move that same softbox far away and the apparent size shrinks, making the light harder. This is why the sun, which is enormous, produces sharp shadows. At 93 million miles away, it appears small relative to your subject.
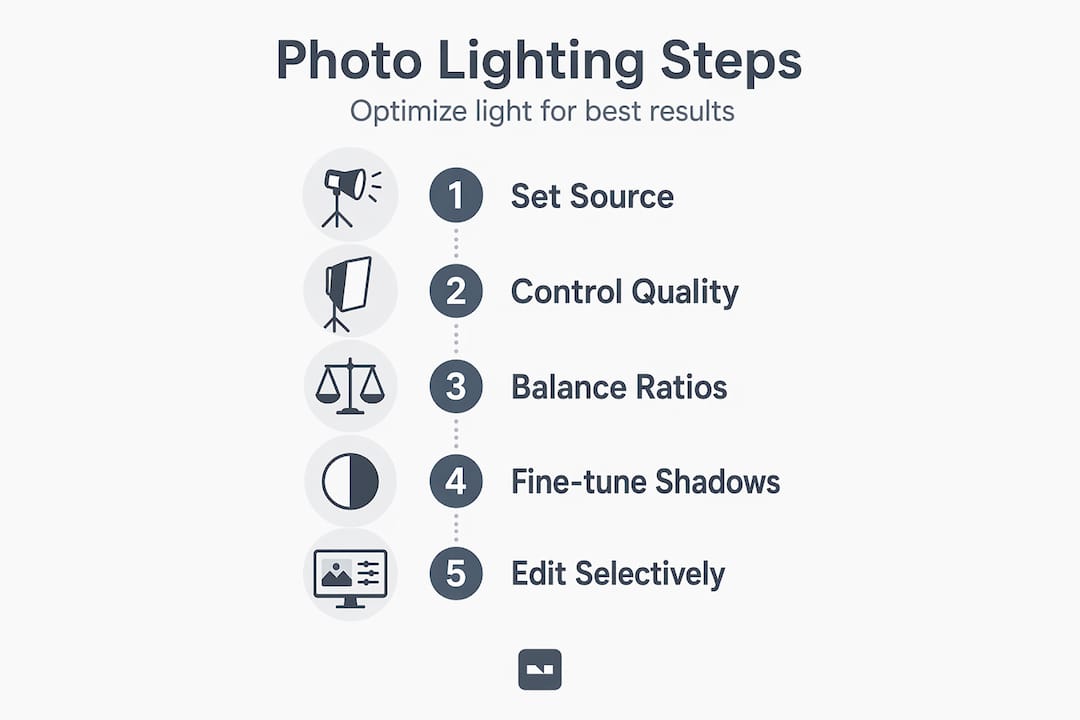
Modifiers shape how light behaves when it leaves your source. Here is a direct comparison of the most common options:
| Modifier | Light quality | Spill control | Best use |
|---|---|---|---|
| Umbrella | Soft, broad | Low | Environmental portraits, fill light |
| Softbox | Soft, directional | Medium | Headshots, product photography |
| Grid | Medium to hard | High | Accent light, controlled drama |
| Reflector | Varies by surface | None | Fill light, outdoor work |
Modifiers can be combined for more control. A grid attached to a softbox gives you soft light with reduced spill, which is ideal when you want a subject lit beautifully without spilling light onto the background.
Managing contrast with flags and ratios
High-contrast lighting setups use a strong key light with minimal or no fill, often combined with flags or gobos to block ambient light from bouncing back and filling shadows unintentionally. This approach is what creates dramatic styles like split lighting or Rembrandt lighting. The lighting ratio between key and fill controls how dramatic the contrast feels. A 2:1 ratio reads as soft and approachable. A 8:1 ratio reads as intense and cinematic.
Pro Tip: For natural light photography, position your subject near a large window and use a white foam board opposite the window as a reflector. You get the soft, directional quality of a softbox at zero cost, and controlling the board’s distance from the subject lets you dial the fill level precisely.
Post-production lighting optimization
Once you have the best capture you can get, post-production lighting optimization lets you refine the image with precision. The most effective tools for this are the Dodge and Burn tools in Adobe Photoshop, which lighten and darken targeted areas of your image using tonal range targeting.
Here is a workflow that protects image quality while giving you maximum control:
- Duplicate your layer. Always work on a copy so your original remains intact. This is the foundation of non-destructive editing.
- Set your tonal range. Both Dodge and Burn tools let you target Shadows, Midtones, or Highlights specifically. Targeting midtones for most portraits keeps edits natural-looking.
- Keep exposure low. Set the tool exposure to 5 to 15 percent. Multiple light passes with a low setting beat one heavy pass every time.
- Use Protect Tones. This checkbox prevents color shifts and clipping that happen when you push a tonal area too far. It preserves the natural color in the areas you are adjusting.
- Work in zones. Burn distracting bright edges that pull the eye away from your subject. Dodge the areas you want the viewer’s eye to travel toward.
Modern dodge and burn workflows mirror what darkroom printers did manually with their hands and cardboard cards, but with pixel-level accuracy and the ability to target specific tonal ranges without affecting the entire image. The result is lighting balance that feels natural because it follows the logic of how real light actually behaves.
Pro Tip: Create a dedicated Curves adjustment layer set to Luminosity blend mode and paint on its mask with black to hide it everywhere. Then paint white only where you want to dodge or burn. This gives you even finer control than the tool itself and remains fully editable.
Common mistakes when optimizing photo lighting
Even experienced photographers fall into habits that undercut their lighting work. These are the pitfalls that show up most often.
- Assuming diffusion equals softness. Merely adding a diffuser does not guarantee soft light. If the diffused source is still small relative to your subject, the light remains relatively hard. Distance and apparent size matter far more than the material you put in front of the bulb.
- Over-relying on ALO or similar auto features. These tools compensate for lighting problems after the fact. Relying on them consistently means you are not learning to read and control light at the source.
- Ignoring fill light. Many photographers add a dramatic key light and forget to balance it with fill. The result is not dramatic, it is just dark. Dramatic lighting is controlled contrast, not absent contrast.
- Not shooting in RAW. JPEG bakes in your camera’s tonal decisions. RAW files give you the actual captured data and full flexibility to make your own lighting adjustments in post-production.
- Skipping the histogram. Your histogram shows you exactly where highlights and shadows sit. Blown highlights appear as a spike against the right edge. Crushed blacks pile up against the left. Learn to read it at capture, not just in post.
The best practice is to control contrast during the shoot rather than hoping to fix it later. Post-production lighting optimization works best as a refinement tool, not as damage control.
My honest take on lighting optimization
I’ve spent years watching photographers agonize over editing tools when their real problem happened three feet in front of the camera. Here is what I’ve actually learned: the moment you understand that light source size controls softness, not modifier brand or diffusion material, everything changes. You stop buying equipment hoping it will make the difference and start moving your existing gear closer to your subject.
What shifted my own work was accepting that controlling contrast at capture is always preferable to fixing it in post. I’ve taken high-contrast scenes and spent an hour in editing trying to recover them, only to get results that still looked wrong. The same scene with a reflector added on location would have taken thirty seconds to fix.
Post-production is genuinely powerful, but it works best when you bring it a well-lit file. Dodging and burning a photo with good foundational lighting produces results that feel real. Doing the same thing to a poorly lit image produces results that feel manipulated, even if the technical execution is perfect.
My advice: spend more time experimenting with light placement before you touch the shutter. Move the light closer. Add a reflector. Try a flag. Those physical adjustments will teach you more about enhancing photo lighting than any editing course can.
— Hello
See your interior photos transformed with Vibemyflat
Getting lighting right in interior and real estate photography is one of the hardest challenges photographers face, and it does not always come down to gear or technique alone. Sometimes you have a beautifully composed shot that just needs intelligent lighting refinement to make it presentation-ready.

Vibemyflat is built exactly for this. The platform uses AI to let you describe the lighting changes you want in plain language and delivers professional-quality results in under 30 seconds. Whether you need to brighten a shadowy corner, balance a room’s ambient and accent light, or lift the overall mood of a photo, Vibemyflat handles it without complex software. Explore AI lighting edits for interiors to see what targeted lighting adjustments look like in practice, or head directly to Vibemyflat to start editing your photos today.
FAQ
What does lighting optimization mean in photography?
Lighting optimization means deliberately controlling light source positioning, quality, and intensity to improve a photo’s tone, clarity, and visual impact. It covers in-camera features, physical lighting setups, and post-production adjustments.
What is the difference between hard and soft light?
Soft light comes from a source that appears large relative to your subject, producing gradual shadow transitions. Hard light comes from a source that appears small, creating sharp, defined shadows. Distance and size drive this difference more than the type of modifier used.
When should I use Auto Lighting Optimizer?
Auto Lighting Optimizer works best in high-contrast situations when shooting JPEG, where you need balanced exposures without manual post-processing. RAW shooters typically get better results by managing exposure and tonal adjustments themselves in editing.
How do dodge and burn tools improve photo lighting?
Dodge and burn tools lighten and darken targeted areas of an image using tonal range controls, letting you guide the viewer’s eye and balance exposure locally without affecting the entire photo. Using low exposure percentages and Protect Tones prevents unnatural color shifts.
What is the best practice for controlling contrast in photos?
The best practice is to manage contrast at the time of capture by adjusting your lighting setup, using fill light, flags, and reflectors to reach your target lighting ratio before you shoot. Post-production should refine your result, not rebuild it from scratch.