What Is Wall Color Editing: a Home Design Guide
What Is Wall Color Editing: a Home Design Guide
TL;DR:
- Wall color editing uses AI to digitally simulate wall paint choices in photos, helping homeowners preview colors accurately. It detects wall surfaces while preserving lighting, shadows, and texture, enabling confident decision-making before actual painting. This technique dramatically reduces costly errors and streamlines interior color selection using user-friendly tools like Vibemyflat.
Choosing a paint color from a two-inch swatch and hoping it looks right on your walls is one of the most frustrating parts of home renovation. What is wall color editing? It’s the digital process of changing wall colors in a photo so you can preview exactly how a shade will look in your actual space before buying a single can of paint. Also known as paint color visualization or digital color simulation, this technique has moved from professional design studios into the hands of everyday homeowners. This guide covers how it works, the best tools available, and how to use them without making expensive mistakes.
Table of Contents
- Key takeaways
- What is wall color editing and how does it work
- Benefits and real limitations of digital color previews
- Popular tools and methods for editing wall color digitally
- Practical tips for effective wall color editing
- What’s next for wall color editing technology
- My honest take on wall color editing
- See your space transformed with Vibemyflat
- FAQ
Key takeaways
| Point | Details |
|---|---|
| What it is | Wall color editing lets you digitally change wall hues in a photo to preview paint options before committing. |
| AI makes it accurate | AI detects walls and preserves real lighting and shadows, so previews reflect your actual room conditions. |
| It’s a planning tool | Digital previews narrow down your choices effectively, but physical paint samples remain the final verification step. |
| Photo quality matters | Well-lit, unobstructed photos produce the most realistic color transformations in any editing tool. |
| Tools range widely | Options span from AI prompt-based apps to manual editing software, suiting everyone from beginners to design pros. |
What is wall color editing and how does it work
Wall color editing is a digital color simulation process where software identifies the wall surfaces in a photo and replaces their color with a new hue while keeping shadows, highlights, and texture intact. The result looks like someone actually painted the room. That’s the key difference between this and slapping a color filter over an image. A filter shifts every pixel equally. Wall color editing targets only the walls, treats corners and edges separately, and respects the way light falls across the surface.
The technology behind modern tools is almost entirely AI-driven. The AI model has learned to distinguish walls from furniture, floors, windows, and trim. Once it identifies the wall, it applies color in a way that adapts to room geometry and light, making the preview far more accurate than a paint chip held up in different corners of the room. Realistic color overlays that account for lighting and shadows are what separate a professional-grade result from a crude photo edit.
The typical user workflow
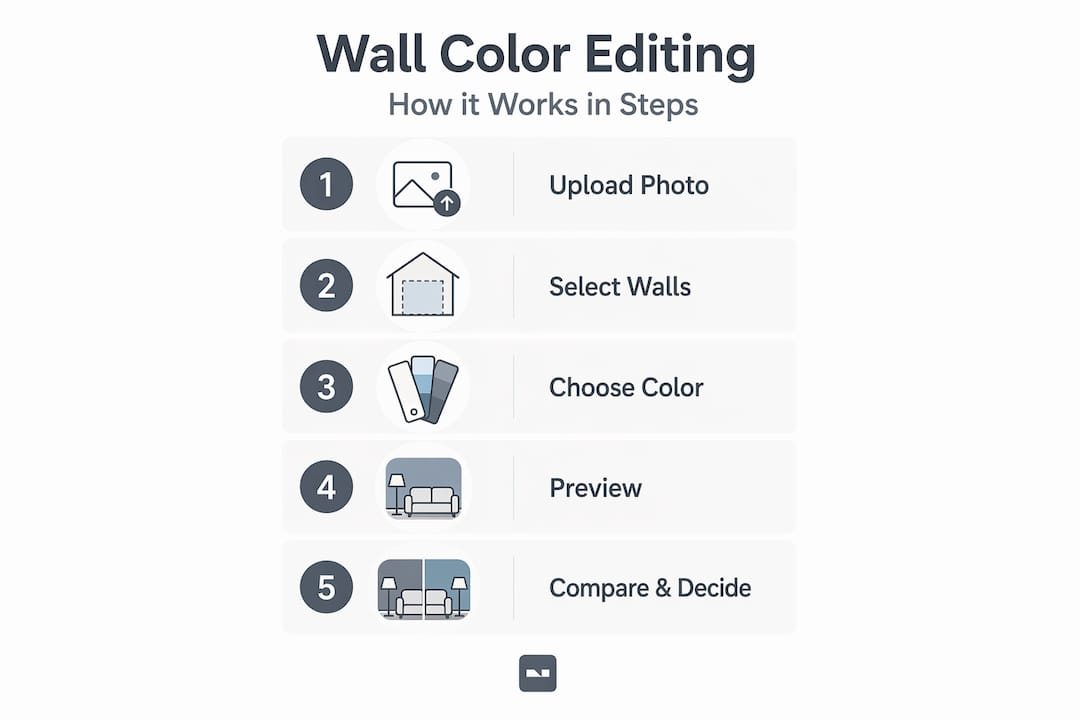
Most tools follow a straightforward three-step process:
- Upload a photo of your room. Natural daylight produces the most accurate results.
- Select a color or describe one. Some platforms use a color picker. AI-powered tools like Vibemyflat let you type a description in plain language, such as “warm terracotta” or “soft sage green.”
- Generate and compare previews. You can regenerate shade variations until you find the best match, testing multiple options in seconds.
This workflow transforms a decision that used to take weeks of sampling and indecision into an afternoon of confident experimentation. The difference between wall color editing and what most people think of as color editing in photos is specificity. General photo color editing shifts the mood of an entire image. Wall color editing is surgical. It changes one surface while the rest of the room stays untouched.
Pro Tip: Take a photo of the same wall at different times of day before editing. Morning light and evening light read completely differently on a finished wall, and testing both photos in your editing tool will give you a much truer sense of how the color will live in your space.
Benefits and real limitations of digital color previews
The most obvious benefit of wall color editing is avoiding expensive mistakes. Experimenting with unlimited shades before buying paint means you never waste money on a gallon of “perfect” taupe that looks purple under your kitchen lighting. That’s a real scenario millions of homeowners deal with every year.
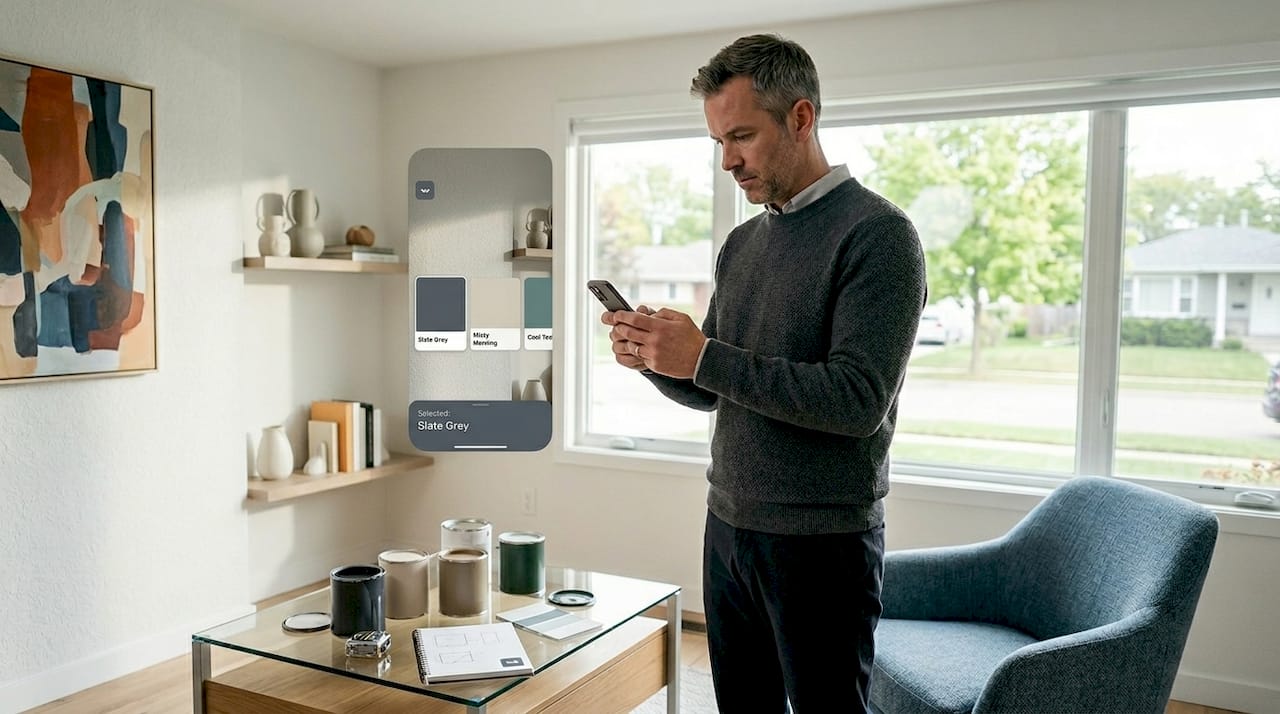
Beyond saving money, visualization reduces the paralysis that comes with too many choices. Standing in front of hundreds of paint chips at a hardware store is overwhelming. Narrowing that field to three finalists using digital previews, then buying sample pots of only those three, is a far more confident process. Color previews that build confidence before purchase are the core value proposition of every wall color editing tool on the market.
That said, the limitations are real and worth understanding honestly.
- Finish and sheen don’t translate digitally. The difference between a flat matte and a satin finish changes how color reads on a wall enormously. A digital preview shows you the hue, not the sheen level.
- Patterned or textured walls are tricky. Exposed brick, wallpaper, and heavily textured plaster can confuse AI detection, producing less accurate results.
- Complex lighting conditions add uncertainty. Rooms with multiple light sources, colored lampshades, or strong directional spotlights can make previews harder to interpret.
- Paint layering and technique matter. Color-washed wall finishes and techniques like brush-stroke layering produce results that no digital simulation can fully capture.
Practitioners use AI wall color edits primarily as lighting and proportion tests, fully aware that paint finish and sheen shift real-world perception beyond what any screen can show. Think of digital previews as a powerful filter for your shortlist. They are not the final word.
Pro Tip: After narrowing your choices to two or three shades digitally, buy small sample pots and paint an 18-by-18-inch square directly on the wall. Live with those swatches for 48 hours across different lighting conditions before you commit.
Popular tools and methods for editing wall color digitally
The tools available today fall into two broad categories: AI-powered simulators and manual editing software. Each serves a different kind of user.
Diverse wall color editing tools range from apps that require zero design knowledge to professional software where you control every pixel manually. Here’s how the main categories compare:
| Tool type | Best for | Key feature | Skill required |
|---|---|---|---|
| AI prompt-based apps (e.g., Vibemyflat) | Homeowners, DIY renovators | Natural language input, instant preview | Beginner |
| AI paint visualizers with color pickers | DIY users, real estate agents | Brush tool, precise recoloring | Beginner to intermediate |
| Manual photo editors (e.g., Photoshop) | Designers, advanced users | Full control over masking and layers | Advanced |
| Brand-specific paint apps | Homeowners researching brands | Pre-loaded brand color libraries | Beginner |
AI-powered simulators are the standout choice for most homeowners. Precise recoloring with automatic object detection means you don’t have to manually trace around baseboards or light switches. The AI handles edge detection automatically. Tools like Vibemyflat push this further by letting you describe changes in plain language rather than clicking a color wheel, which makes the whole process feel less like software and more like talking to a designer.
Manual editors like Photoshop give professionals complete control, but the learning curve is steep. You’re responsible for creating precise selections around every wall surface, which takes real skill to do without visible seams or artifacts.
For most people exploring AI-based design visualization, the AI simulator is the right starting point. You get professional-looking results without needing professional software skills.
Practical tips for effective wall color editing
Getting accurate, useful results from any wall color editing tool comes down to a few consistent habits. Follow this workflow and you’ll avoid the most common frustrations.
- Choose the right photo. Shoot your room in natural daylight, ideally on an overcast day when the light is even. Avoid photos taken under warm artificial lighting because the yellow cast will skew every color you try.
- Clear the frame. Move furniture, decor, and objects away from the wall area you want to edit. The more unobstructed wall visible, the better the AI can detect and treat the surface accurately.
- Use multiple angles. Shoot the wall straight-on and from an angle. Angled shots show how the color reads with depth and dimension, which matters more than a flat head-on view.
- Test at least three shades. Never stop at the first color that looks good. Testing multiple shade variations before deciding is a core best practice. Colors that look identical on a screen can read very differently at scale.
- Compare in context. Always view your color preview with the existing floors, furniture, and trim visible. A color that looks stunning in isolation can clash badly with your oak floors or gray sofa.
- Interpret the preview critically. High-quality photos improve accuracy, but no digital preview accounts for how ambient color from upholstered furniture, rugs, and artwork bounces off freshly painted walls.
Common mistakes to avoid: using phone photos with heavy beauty filters applied, editing only one photo and calling it decided, and ignoring undertones. A color labeled “white” can lean pink, blue, or yellow depending on its undertones, and this reads dramatically on a full wall.
Pro Tip: When you find a color you like in the digital preview, search for that paint brand’s undertone description before buying. Knowing whether your “greige” leans warm or cool saves you from the single most common wall color disappointment.
The photo editing guide for DIY enthusiasts at Vibemyflat walks through this entire process with room-specific examples, which is worth bookmarking for your next project.
What’s next for wall color editing technology
The tools available today will look basic within a few years. Several developments are actively shaping where this technology goes next.
- Higher-realism AI models are being trained to simulate not just color but paint finish. Matte, eggshell, satin, and gloss will render differently in the same preview, finally closing the gap between screen and reality.
- Augmented reality integration is already appearing in some apps, letting you hold up your phone and see new wall colors applied live to your room through the camera. AR and AI-enhanced interior previews are rapidly moving from novelty to practical tool.
- Texture simulation will allow users to preview wallpaper, limewash, and textured finishes alongside flat color, making digital previews useful for a much wider range of renovation decisions.
- Collaboration features are emerging for designers and homeowners to review the same preview simultaneously, comment, and iterate without sending files back and forth.
- AI design ideas for home interiors are already evolving beyond single-room edits. Tools are learning to suggest color palettes that work across connected spaces for visual flow throughout an entire home. Vibemyflat’s AI-driven design ideas blog covers how these multi-room capabilities are developing in real time.
The core insight driving all of this is that the gap between “I think this color will work” and “I know this color will work” is closing fast. Technology is doing the heavy lifting, and homeowners are the direct beneficiaries.
My honest take on wall color editing
I’ve watched people use digital color tools make a specific mistake repeatedly. They get a beautiful preview, fall in love with it, and skip the physical sample step entirely. Then the paint goes on the wall and they’re surprised it looks different. The tool didn’t lie. But screens and walls are not the same surface.
What I’ve come to believe is that the real value of wall color editing is not in finding the perfect color. It’s in eliminating the wrong ones fast. You can rule out 40 shades in an hour that would have taken you weeks of sampling to reject. That’s genuinely transformative. But the last step, the one where you live with a physical patch on your wall for two days, that step still belongs to you.
There’s also something people get wrong about AI tools specifically. They assume AI means automated and therefore foolproof. The AI is excellent at detection and color application. It does not know that your room smells like morning coffee and you want it to feel warm and cozy. You bring the emotional intelligence. The AI brings the technical precision. The best results come from that combination.
My advice: use digital previews aggressively and freely. Test every color you’re even slightly curious about. Then take your top two choices to the wall. The visualization benefits of AI tools are real, but the human judgment at the end of the process is what makes a room feel like yours.
— Hello
See your space transformed with Vibemyflat
Vibemyflat was built for exactly the kind of project this article describes. You upload a photo of your room, type what you want to change in plain language (“paint the walls a dusty blue” or “try a warm terracotta”), and the AI delivers a professional-quality preview in under 30 seconds. No color wheels. No complex software. No design degree required.
Whether you’re planning a full renovation or just curious about a new wall color, Vibemyflat makes it possible to test ideas freely before spending a dollar on paint. It works across iOS, Android, and desktop, so you can experiment from wherever you do your best thinking. Start visualizing your space at Vibemyflat and see how quickly the right color becomes obvious.
FAQ
What exactly is wall color editing?
Wall color editing is the digital process of changing wall colors in a photo using AI, so you can preview paint options in your actual room before buying. The AI detects wall surfaces and preserves lighting and shadows for a realistic result.
How accurate are AI wall color previews?
AI previews are highly accurate for color and tone, but they don’t capture paint finish or sheen differences. Use them to narrow your choices, then verify with physical sample pots on the wall.
What photos work best for wall color editing?
Well-lit photos taken in natural daylight with unobstructed wall surfaces produce the most accurate results. Photo quality directly influences how realistic the color transformation appears.
Can beginners use wall color editing tools?
Yes. AI-powered tools like Vibemyflat are designed for people with zero design software experience. You describe the change you want in plain language and the AI handles everything else.
Is wall color editing the same as color grading a photo?
No. Color grading shifts the tone and mood of an entire image. Wall color editing targets only the wall surfaces while leaving furniture, floors, and other elements unchanged.